Thanksgiving is right around the corner, and boy do I have a recipe for you: apple pie. Now, I know what you’re thinking: but what about pumpkin pie? Well, if you’re anything like me and were obsessed with anything pumpkin flavored throughout the entire month of October, you might just be looking for a break from pumpkin.
And if you show up with this at Thanksgiving, literally everyone will be impressed. Pies aren’t difficult assuming you get the crust right (pro-tip: the butter needs to be cold!) and adding the decorative top crust makes this even more impressive. Don’t worry; you don’t have to do the leaf design, and, and, if you’d like to, it’s easier than you could imagine.
What You Need
Crust
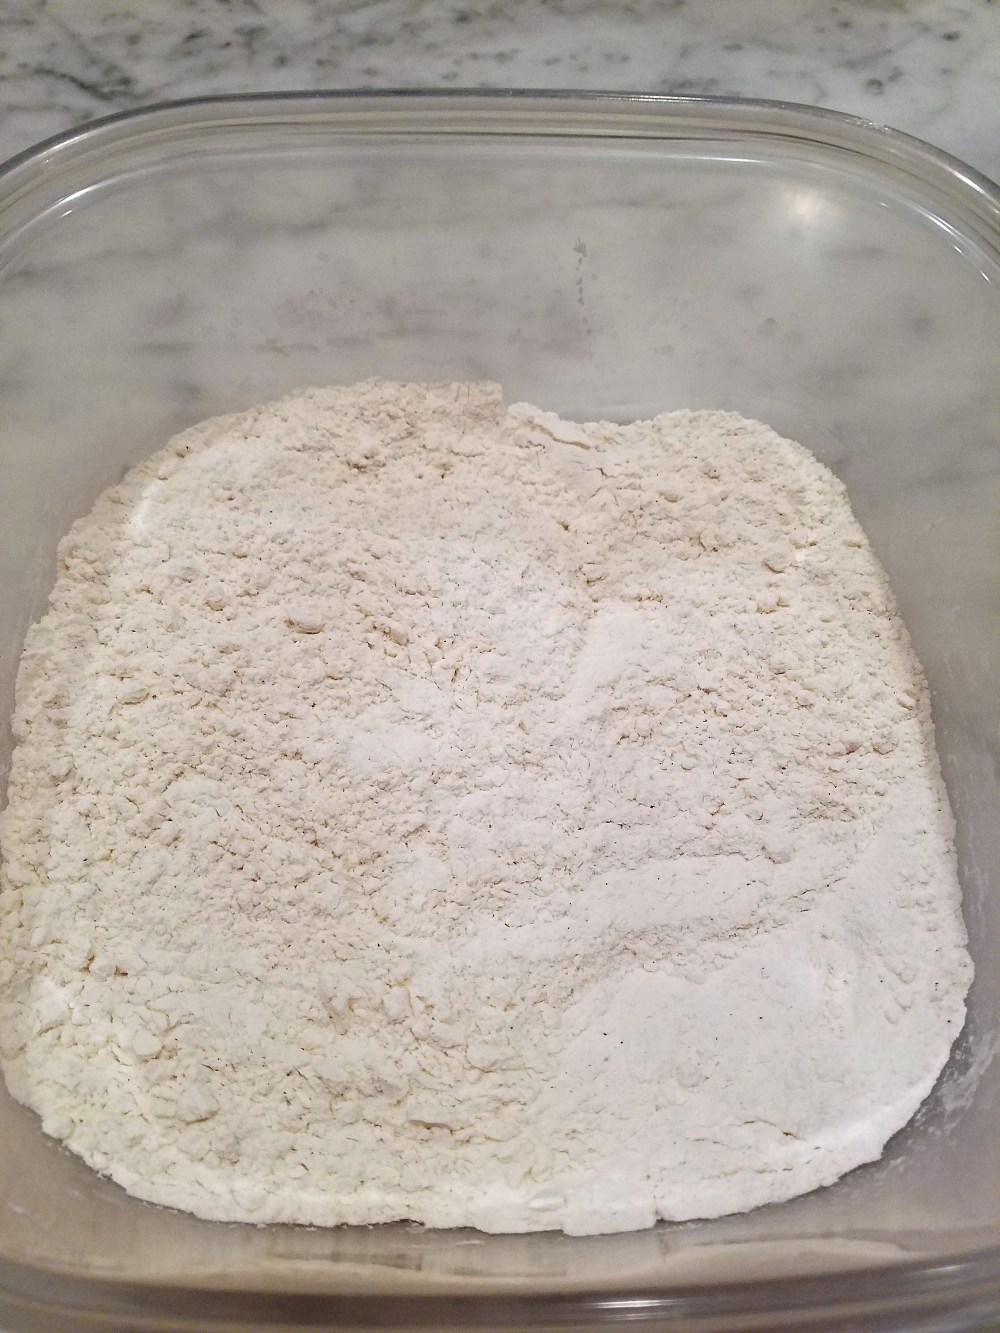
- 2 ½ cups flour
- ¼ teaspoon salt
- ⅛ teaspoon cinnamon
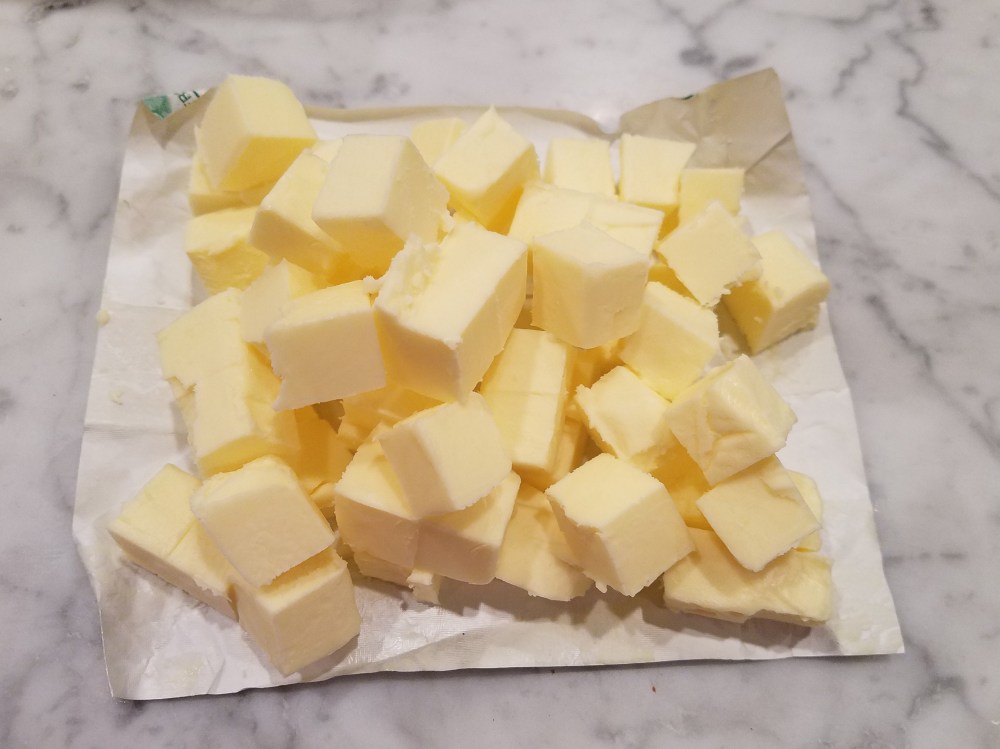
- 1 cup (16 tablespoons) salted butter, cold
- 1/2 cup cold water
Filling
- ½ cup (8 tablespoons) salted butter
- ½ teaspoon vanilla
- 3 tablespoons flour
- ¼ cup warm water
- ½ cup brown sugar
- ½ white sugar
- 7 medium-to-large apples of your choice (I used cortland and gala)
Other
- 1 egg (to brush over crust)
How You Do It
Crust
- Combine the flour, salt, and cinnamon.
- Cut butter into small cubes.
- Going 1-2 cubes at a time, cut the butter into the flour mixture using either a pastry cutter or fork. Mixture should be crumbly.
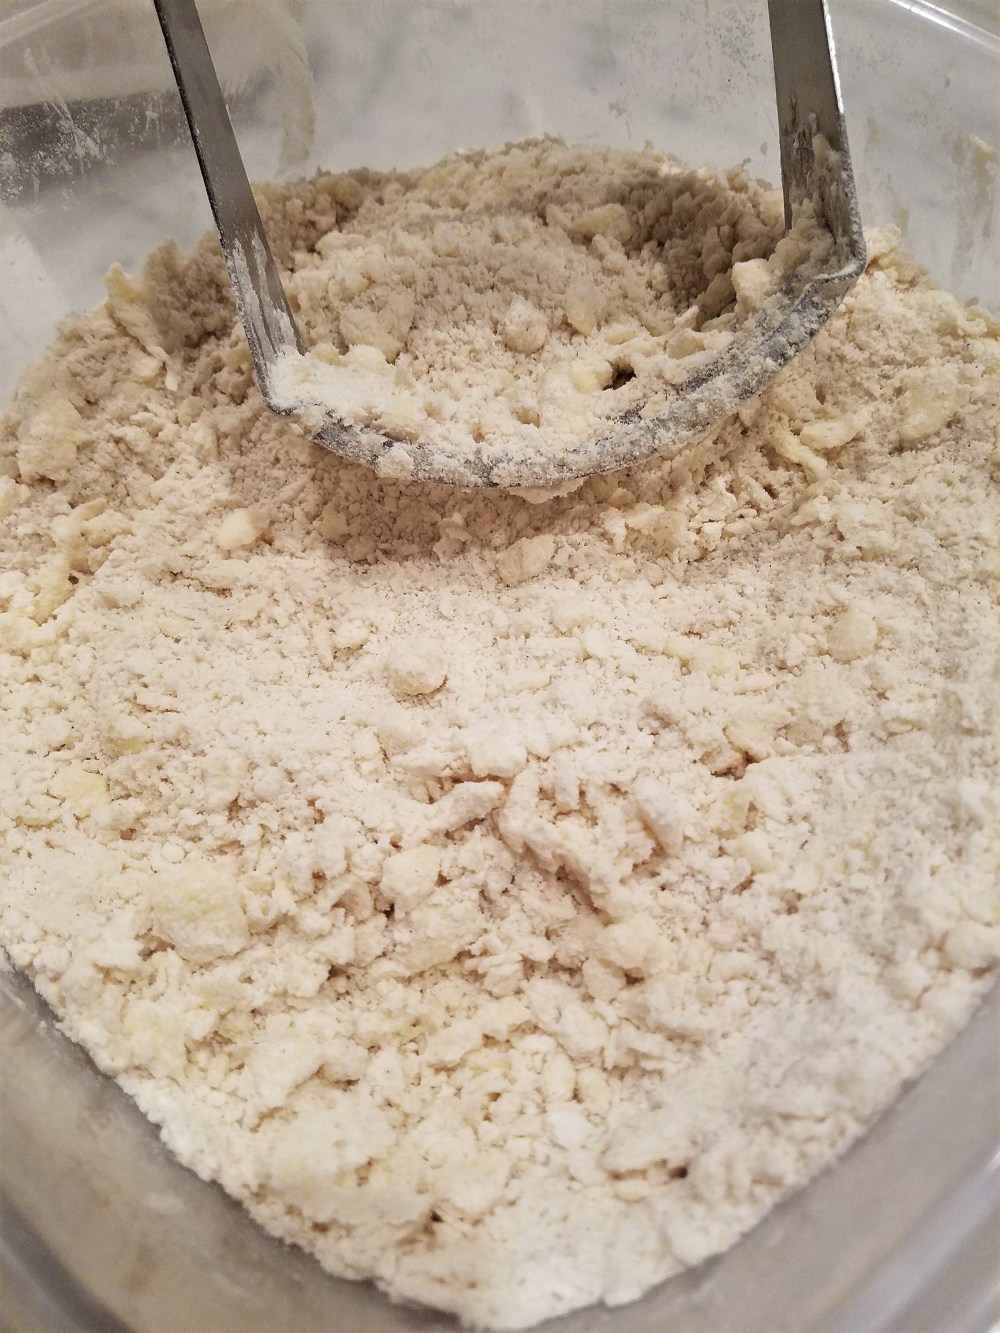
- Add in the water. If there are still chunks of butter, that’s okay.
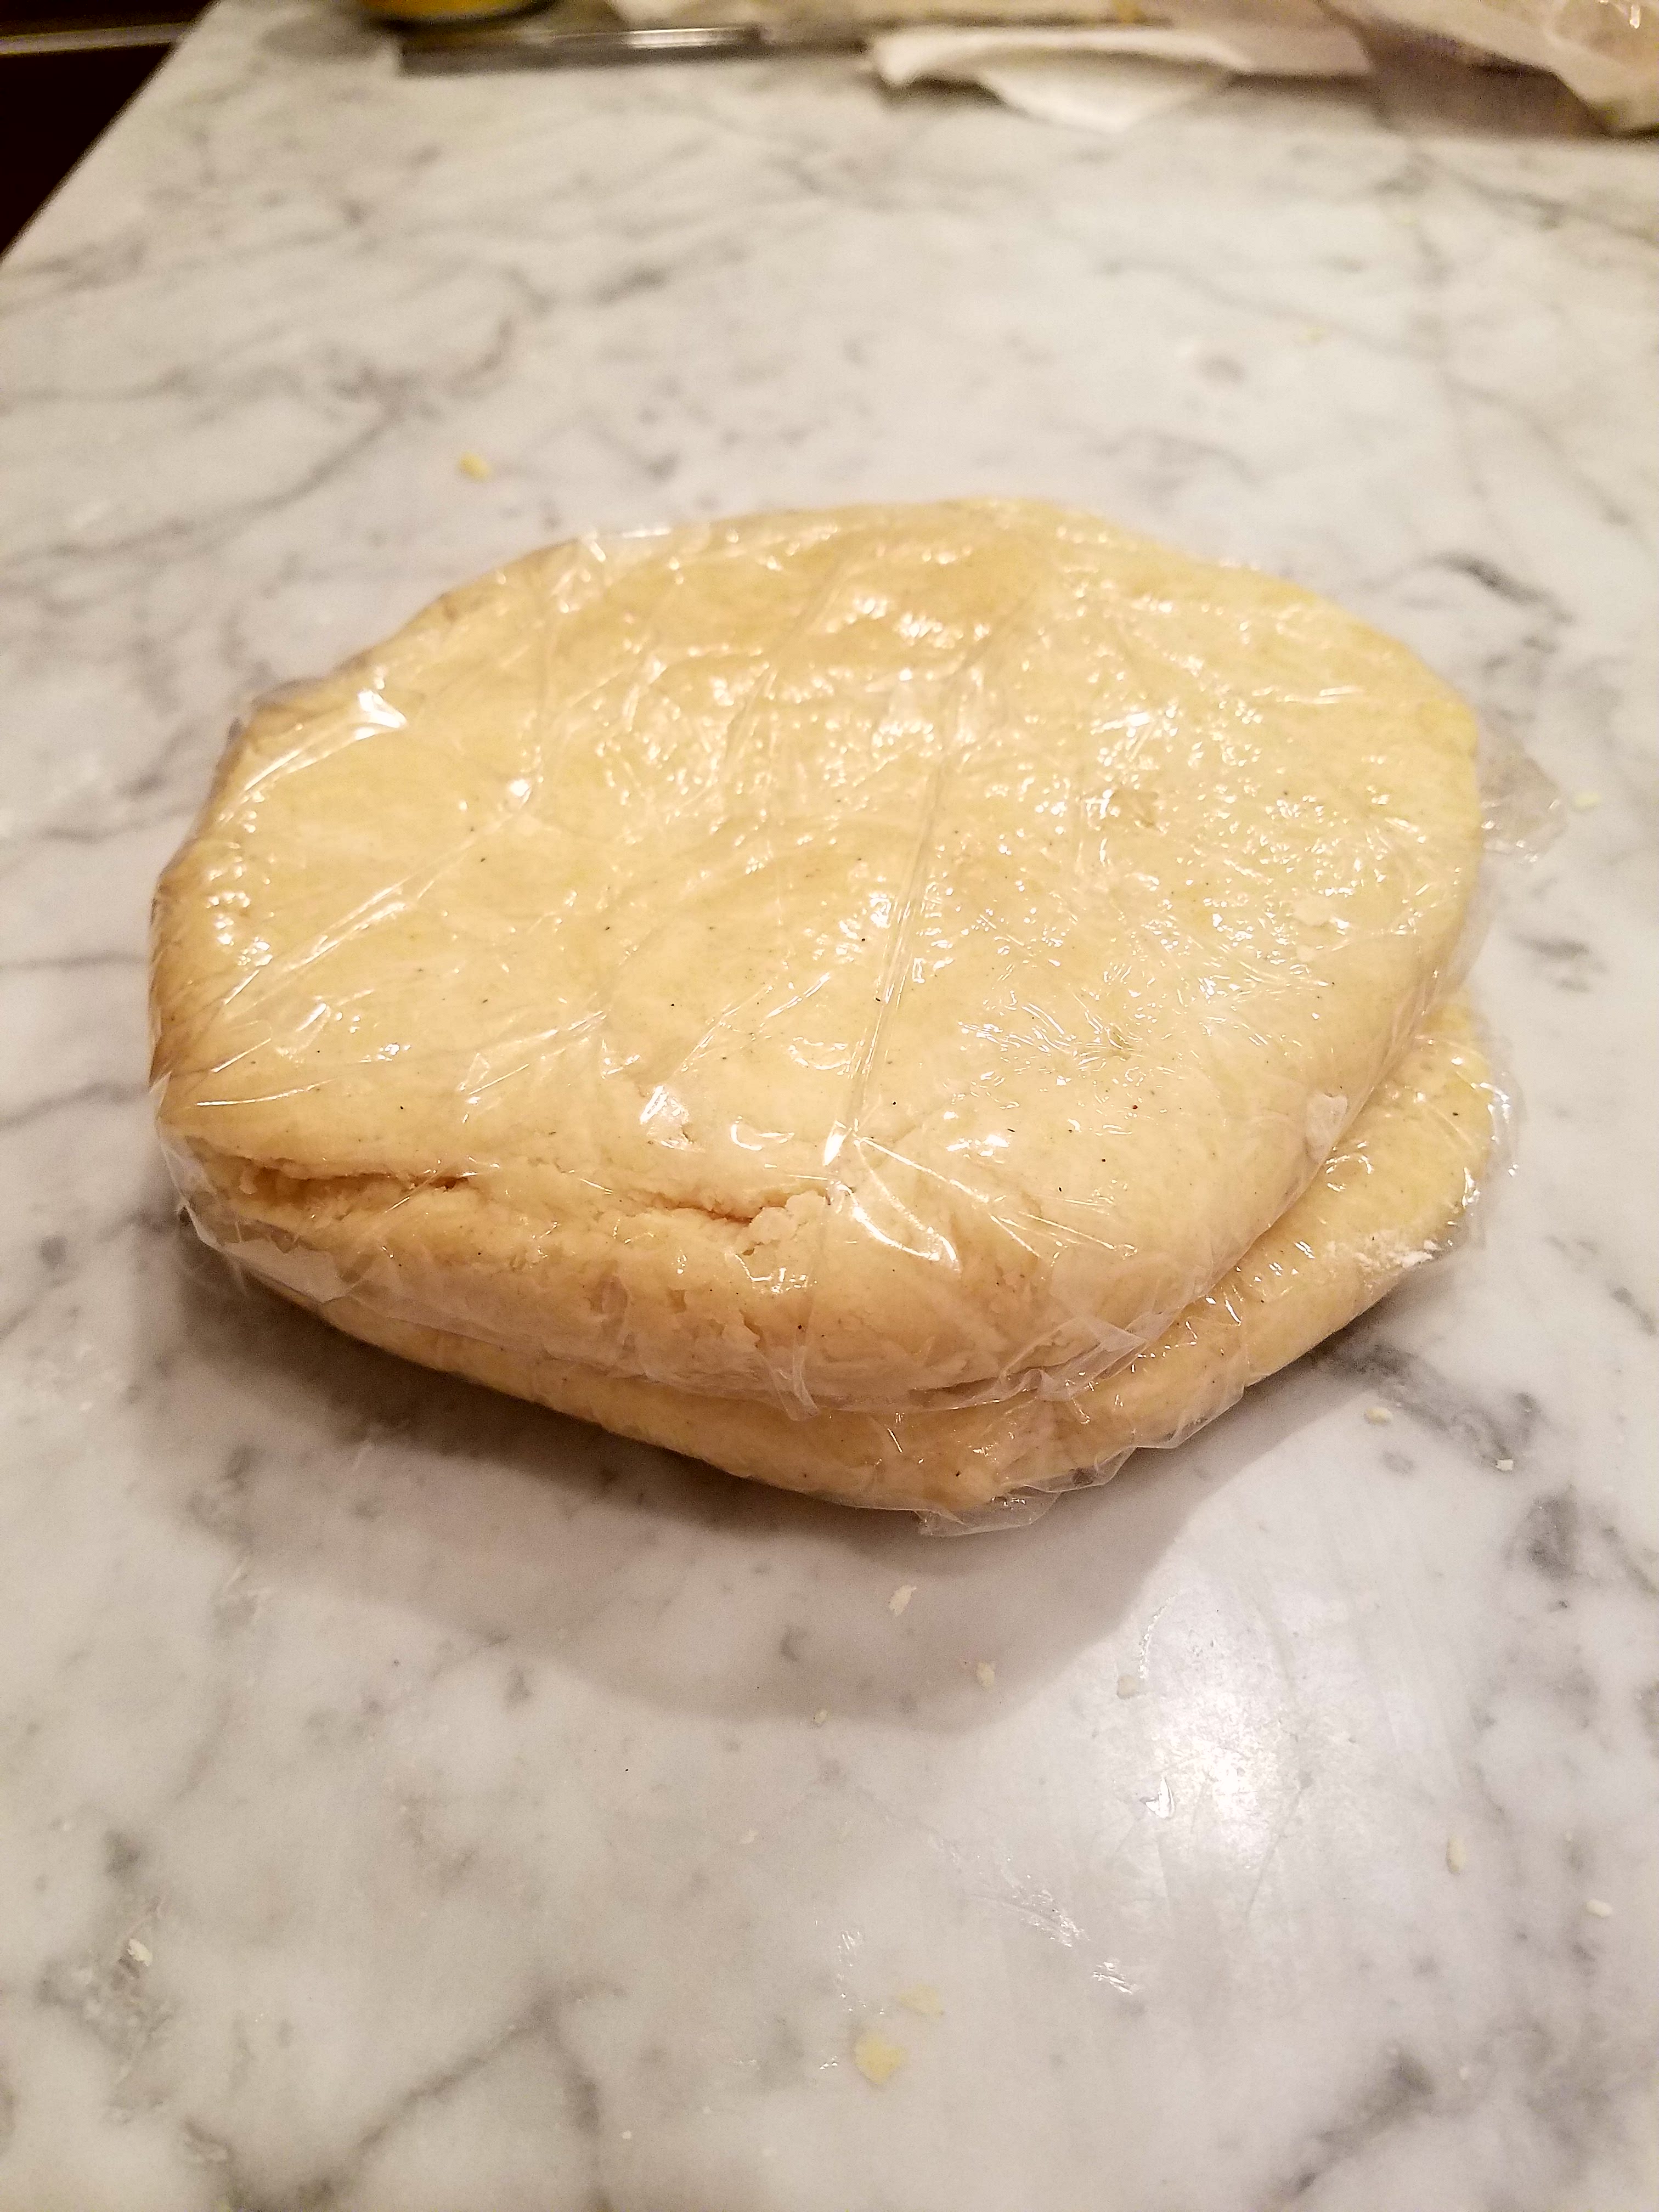
- Divide the dough into two equal balls and roll into 1-inch thick disks. Cover, and put in fridge for at least 2 hours.
Filling
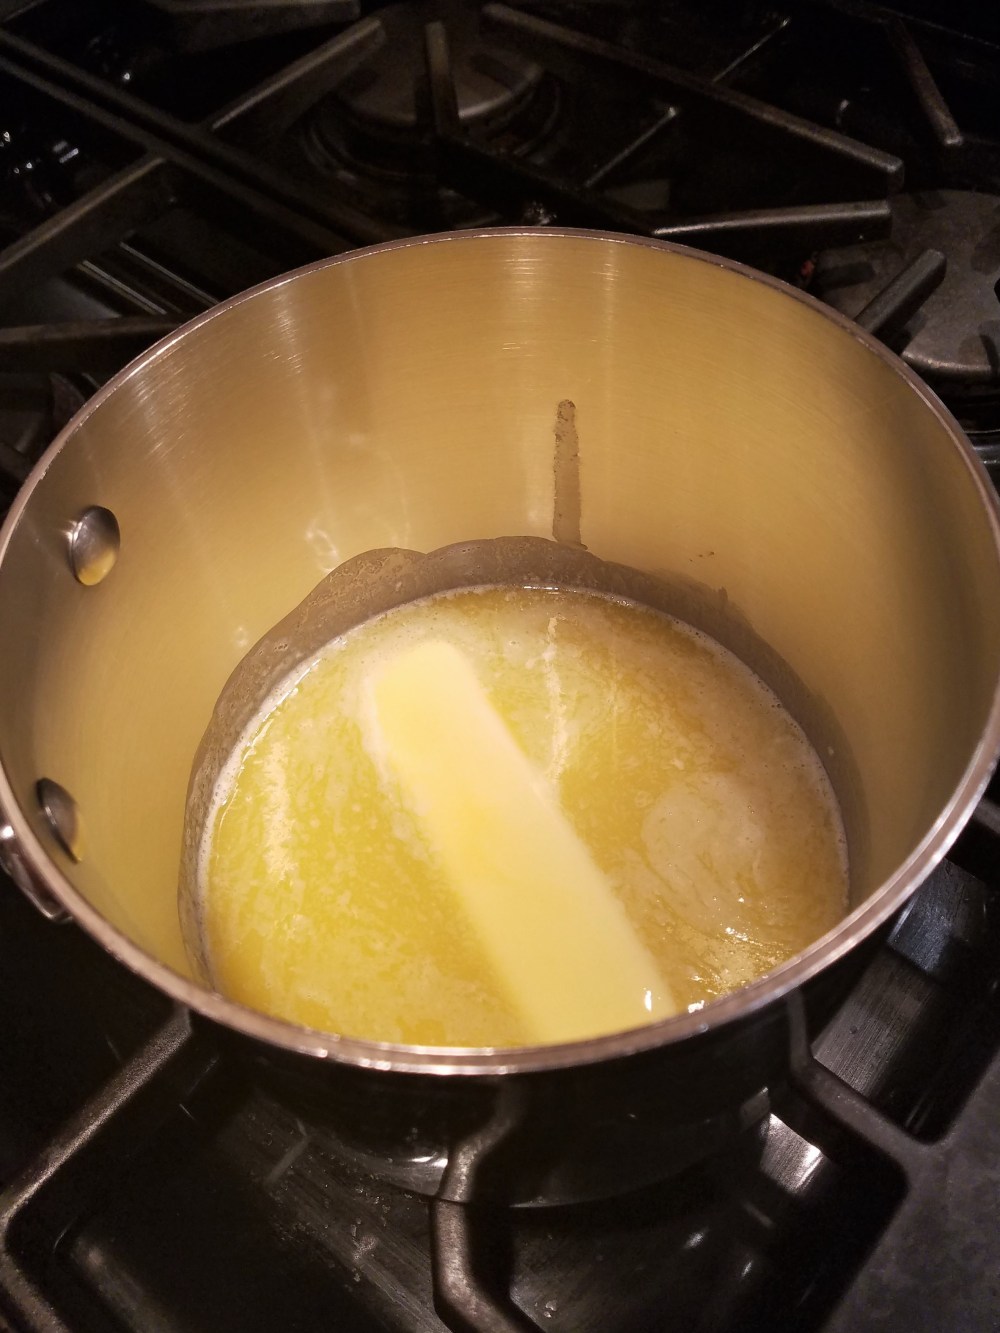
- While crust is in the fridge, begin to make the filling. In a small pan, melt the butter on medium heat, stirring until fully melted.
- Add in the vanilla.
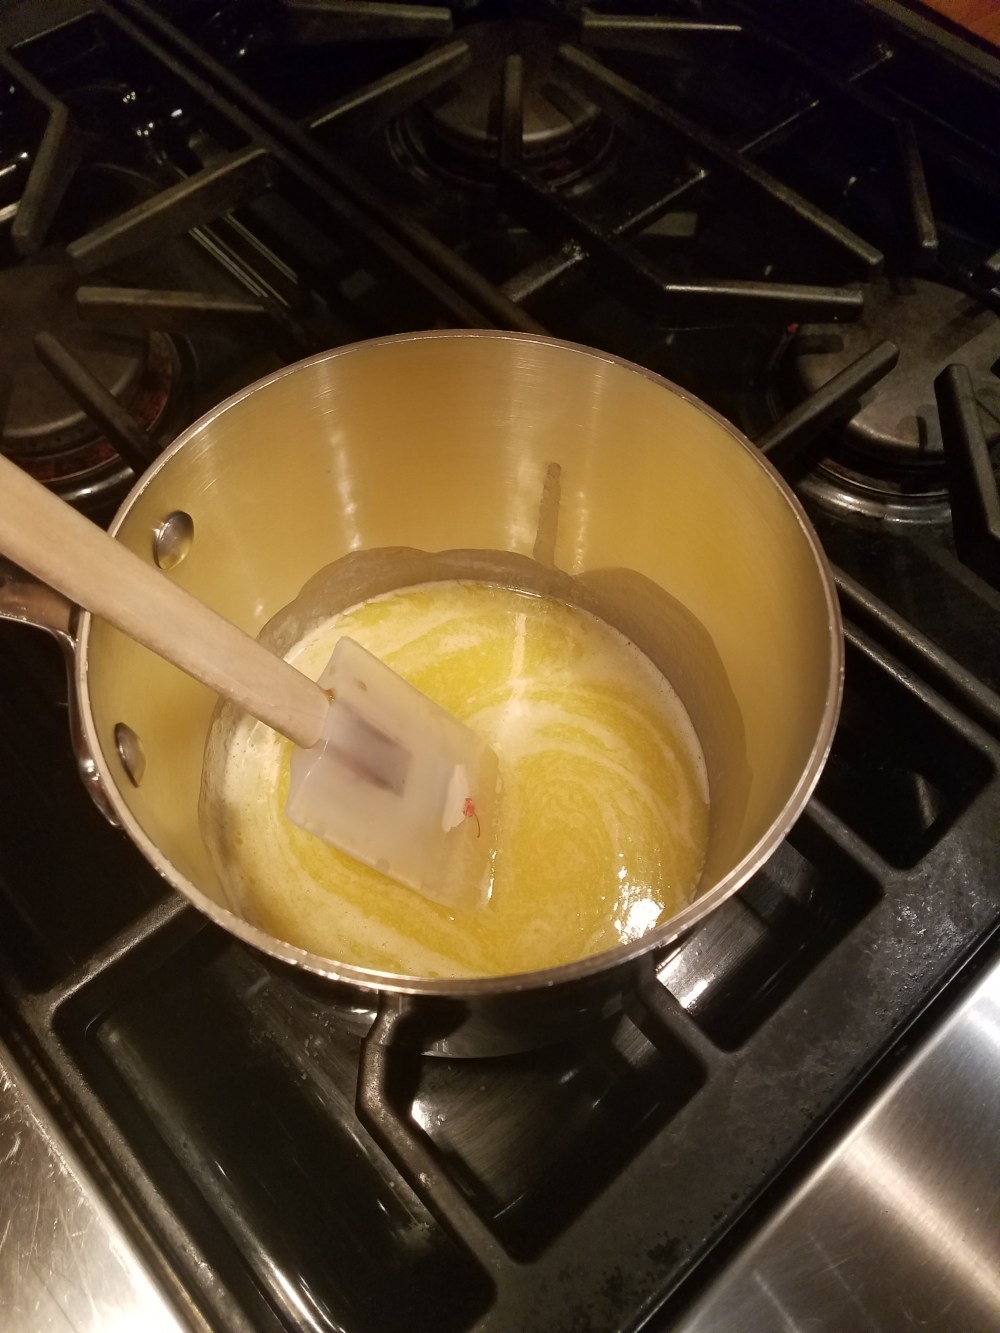
- With the butter still on the stove, mix in the flour.
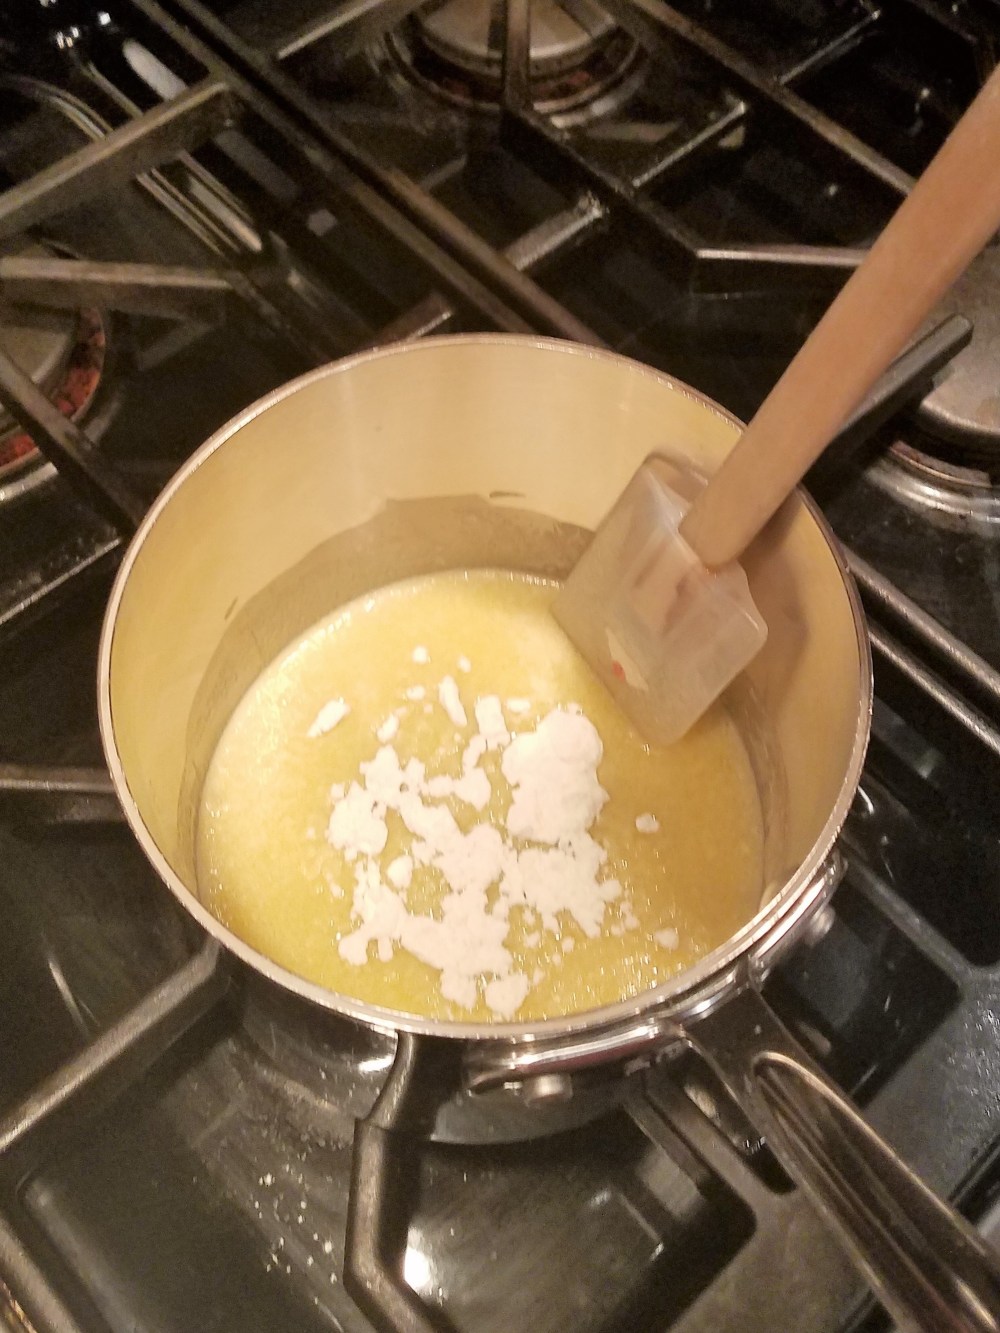
- Add in the brown and white sugars and the water.
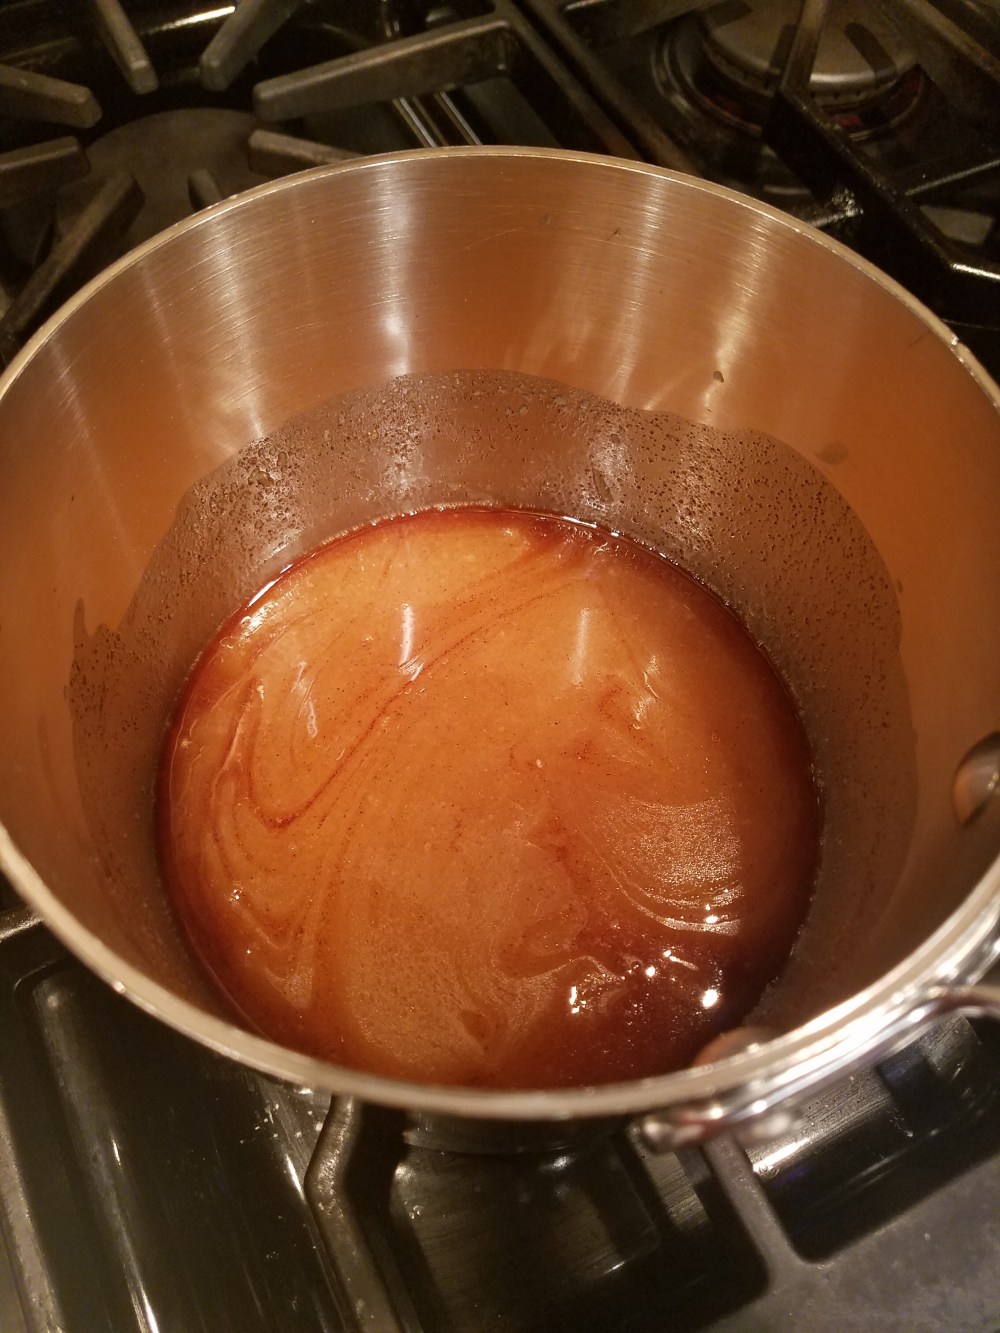
- Remove from stove and stir in the cinnamon. Set aside to cool.
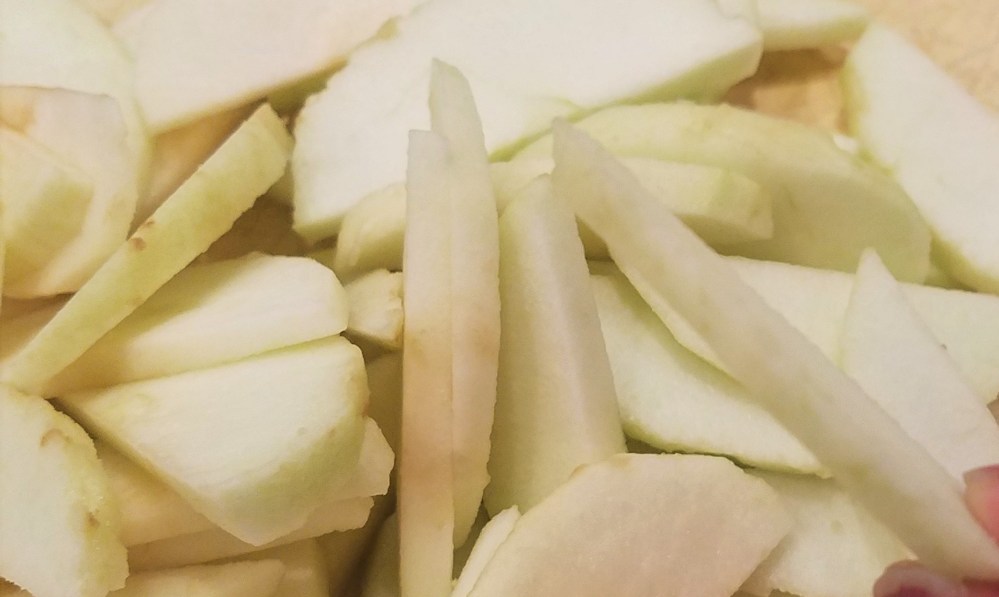
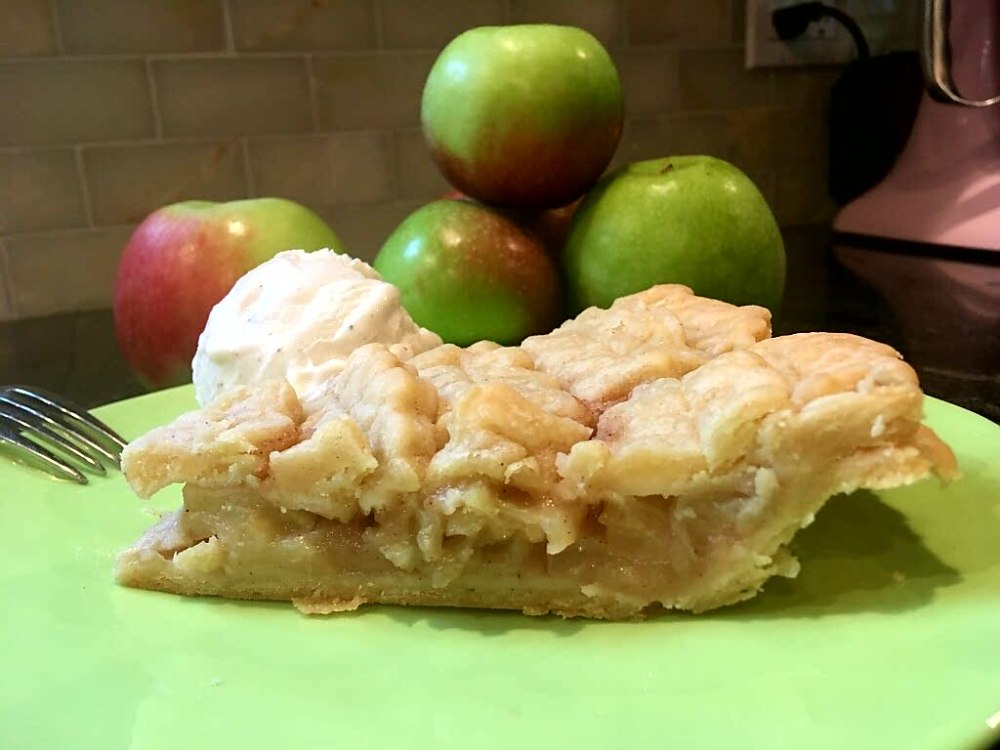
- Slice the apples. I prefer thinner slices (see below), but if you prefer chunks, go with that (note that it might affect cook time, though).
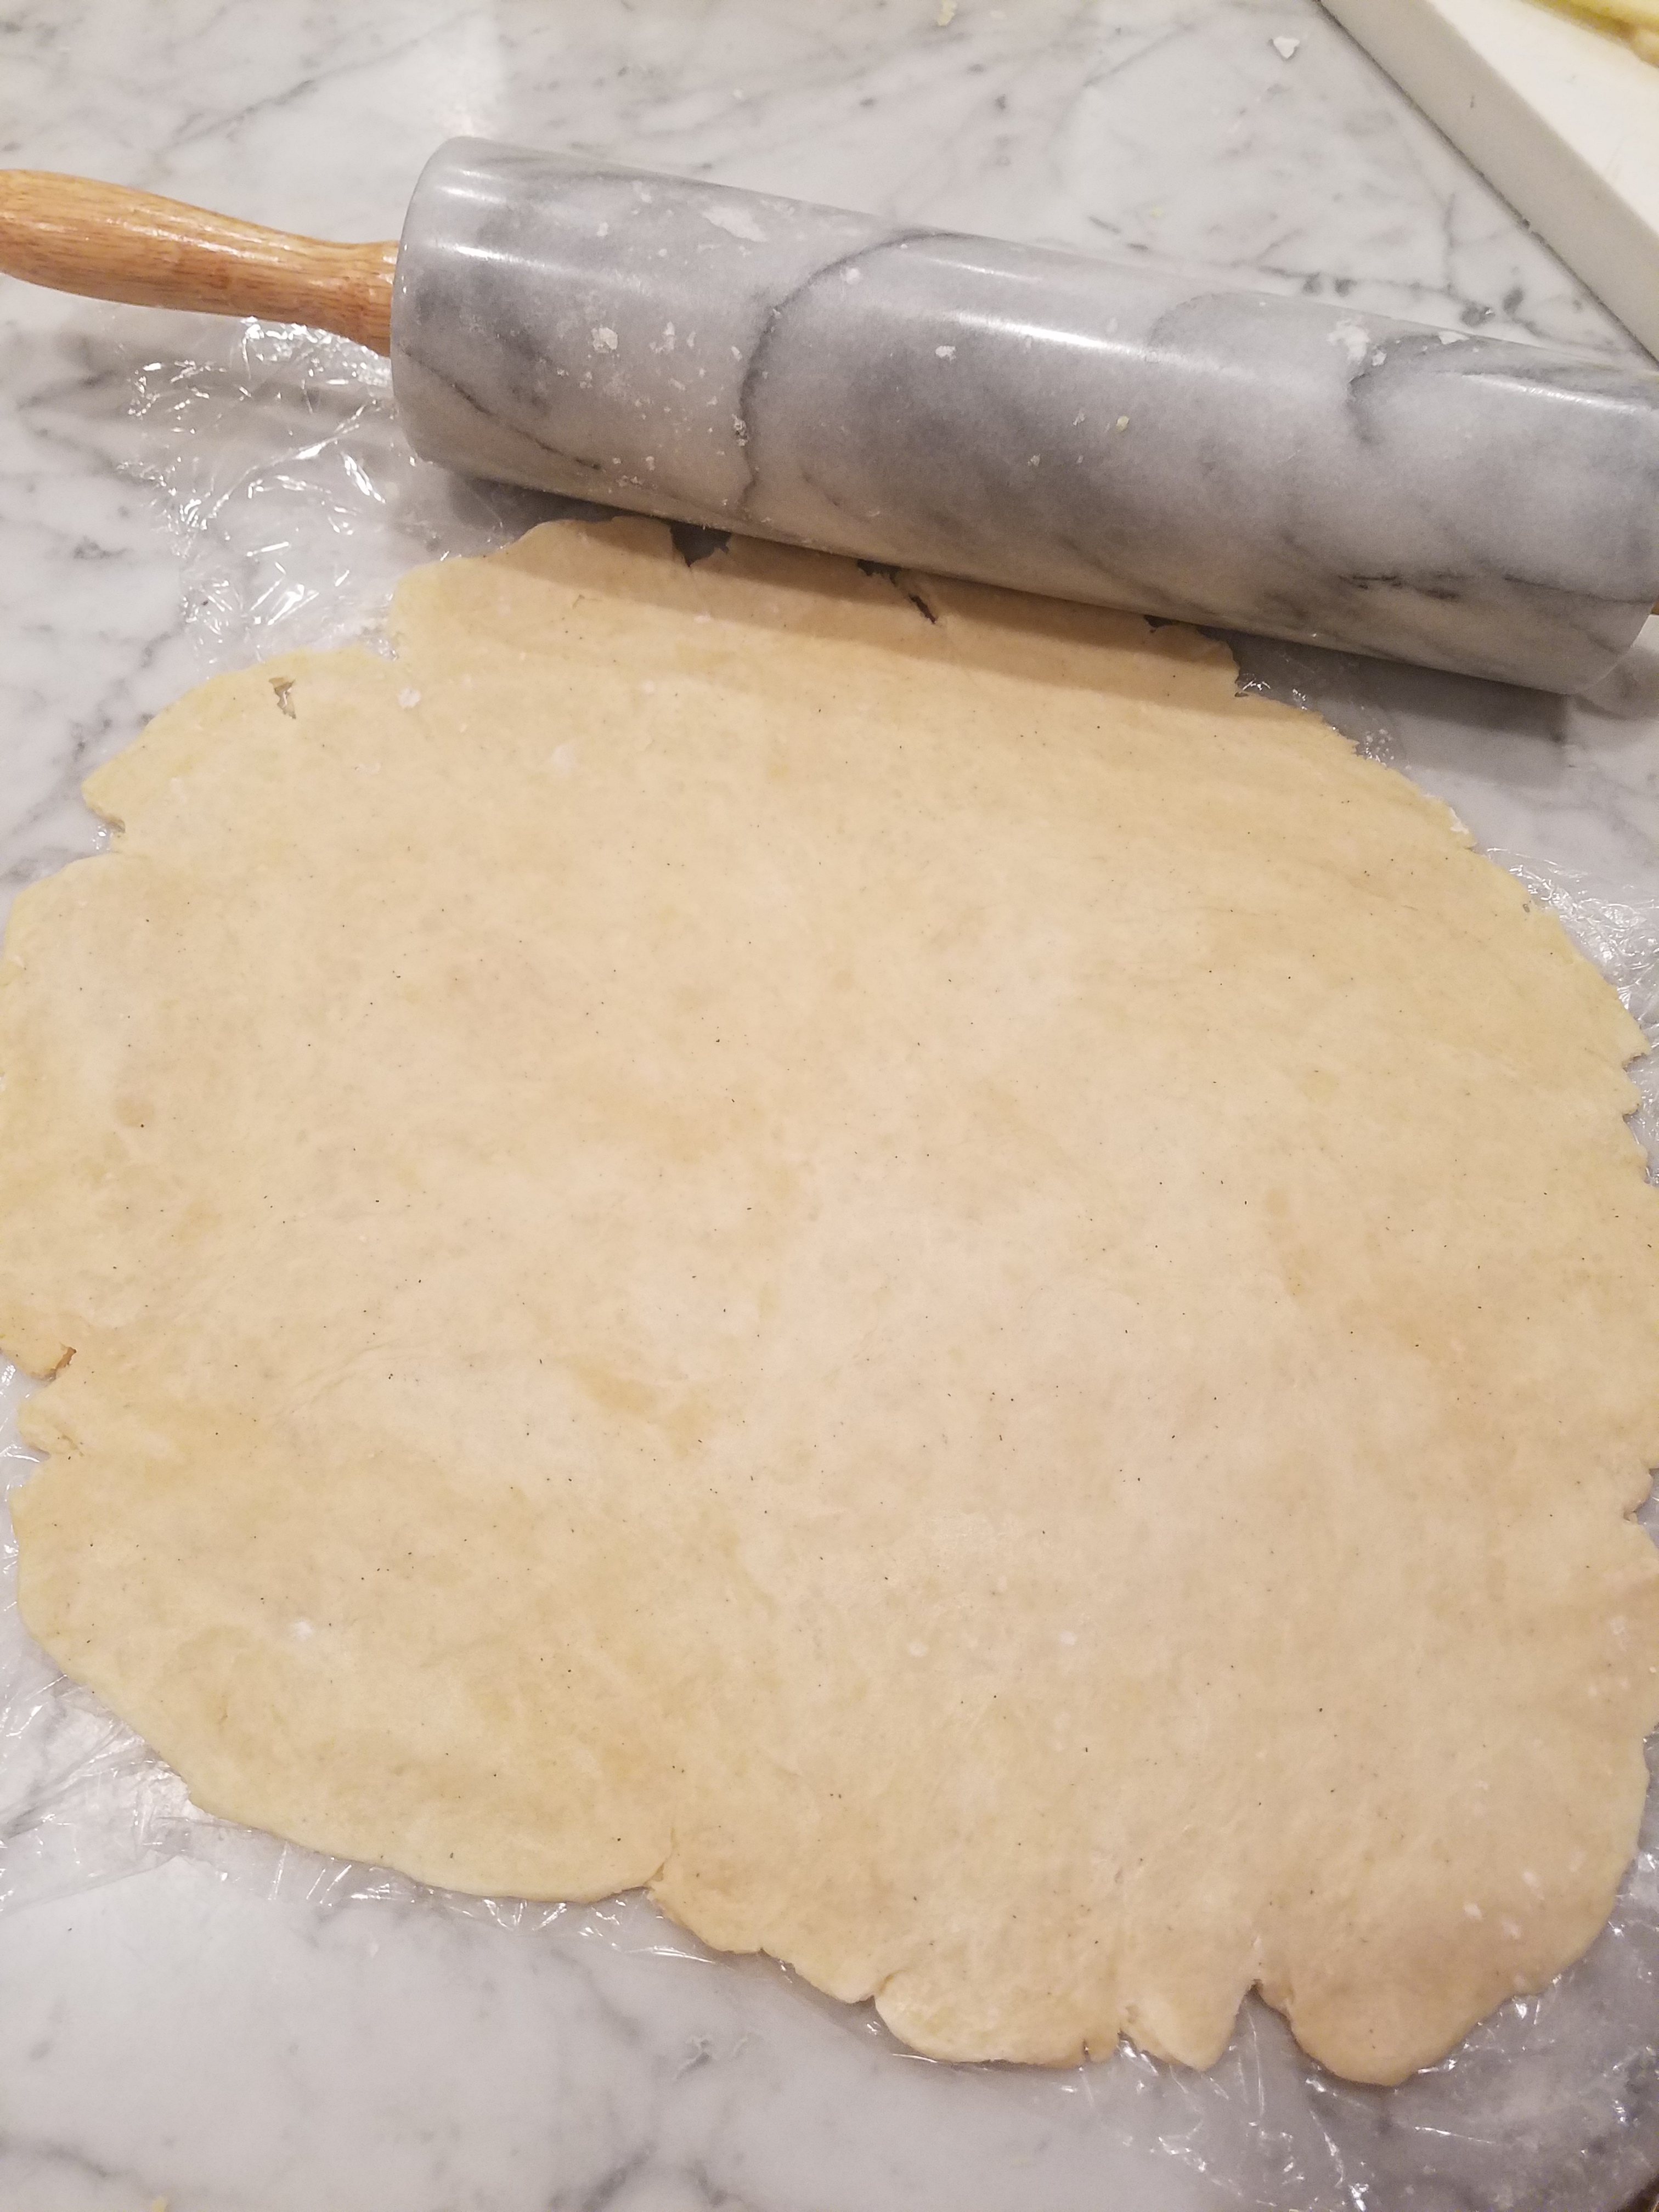
- Preheat the oven to 425F. Take crust from the fridge and roll out. If the crust gets too warm and the butter begins to melt, pop back in fridge to cool down.
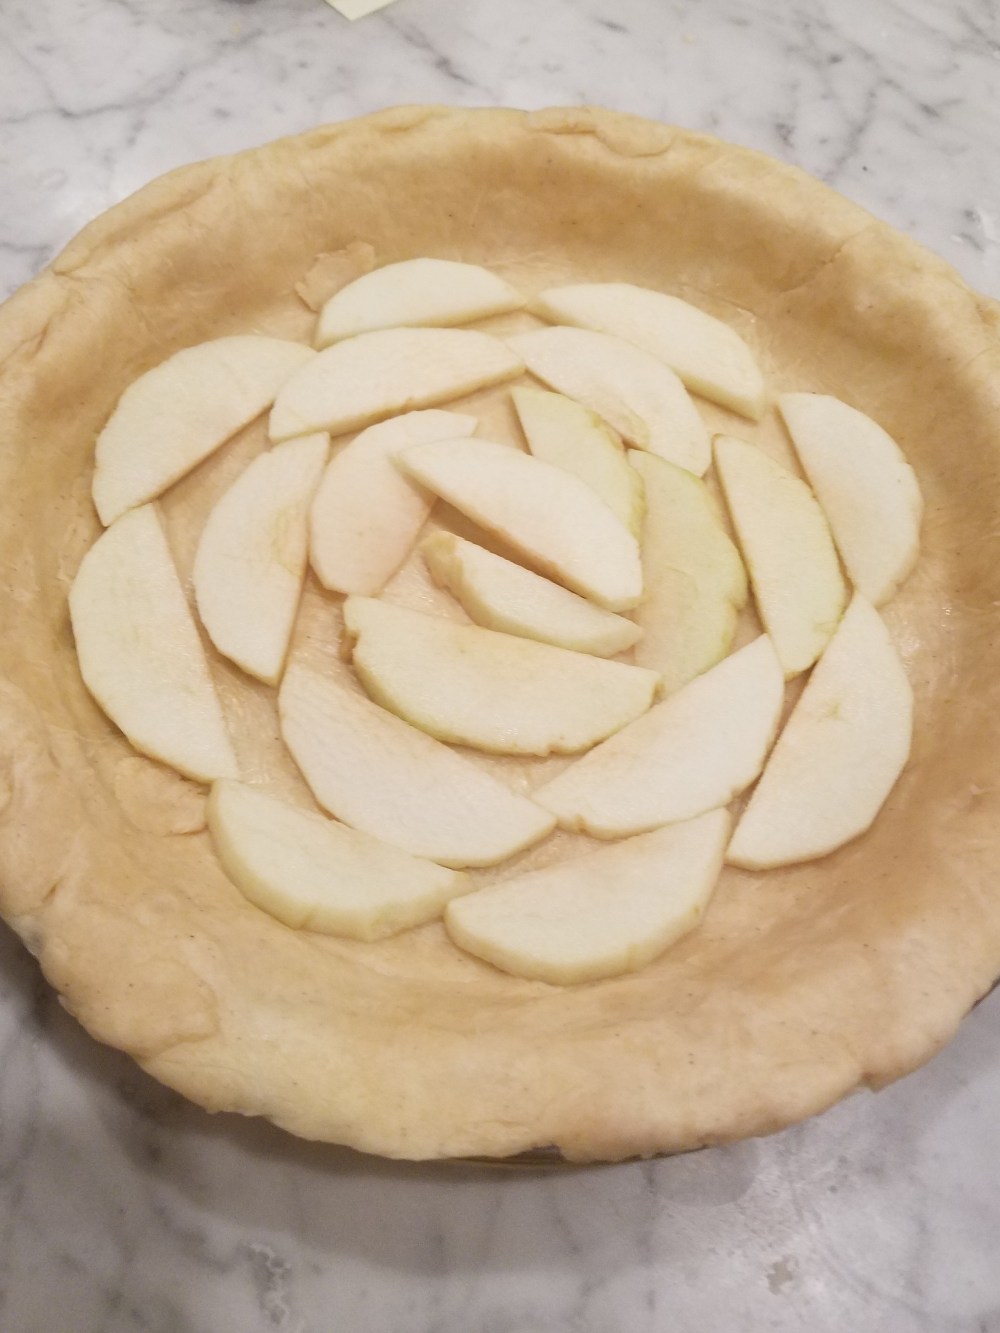
- Roll one layer of crush over an ungreased pie tin.
- Layer apples one row at a time. This ensures that you have a packed pack instead of one with “gaps” or missing filling.
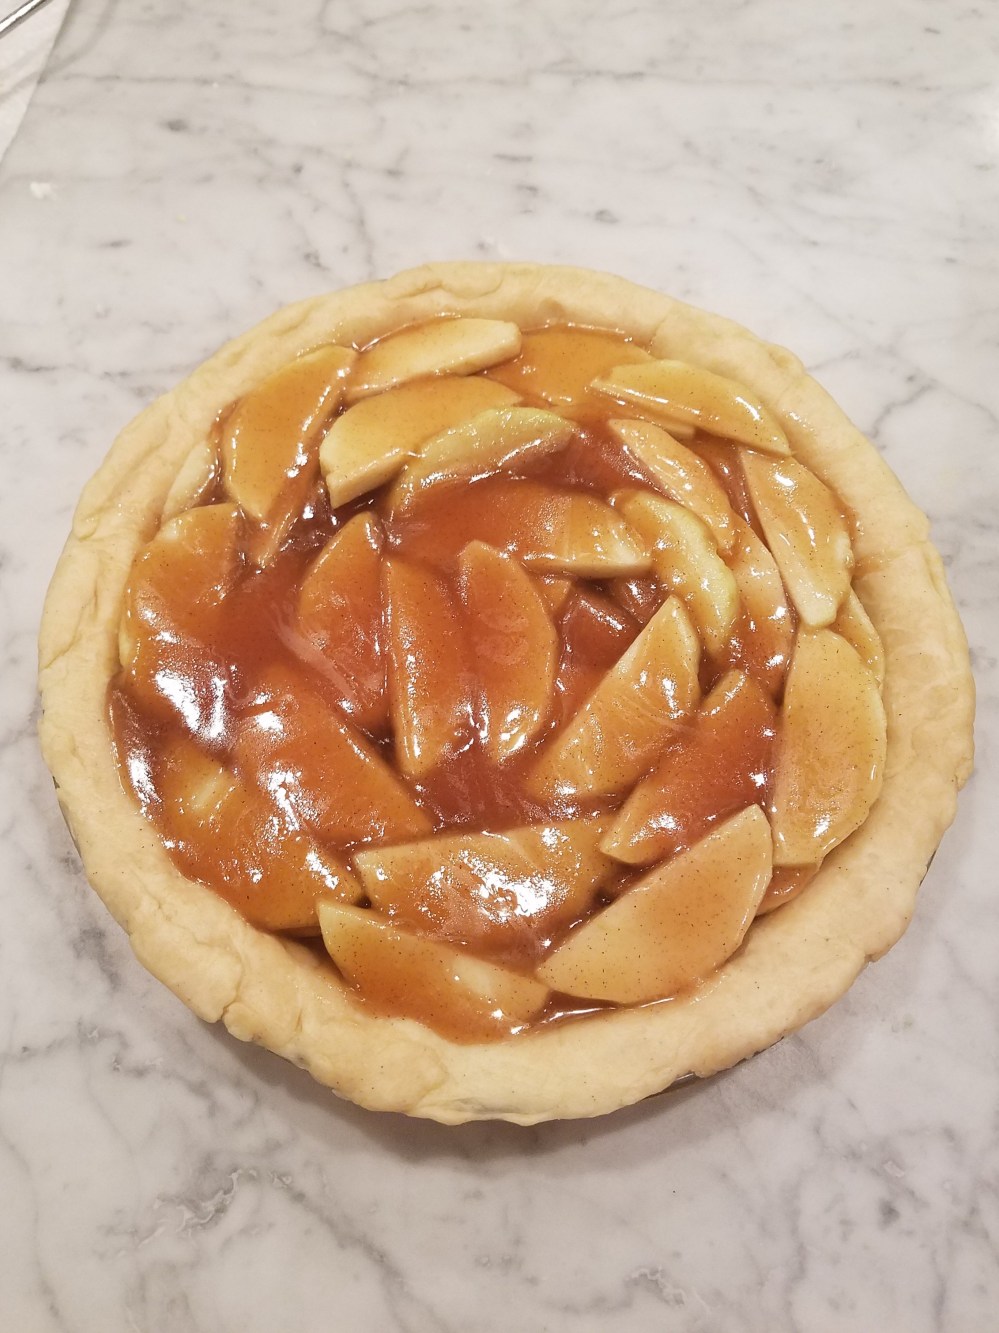
- Once you’ve layered about half the apples, pour over half the filling and repeat.
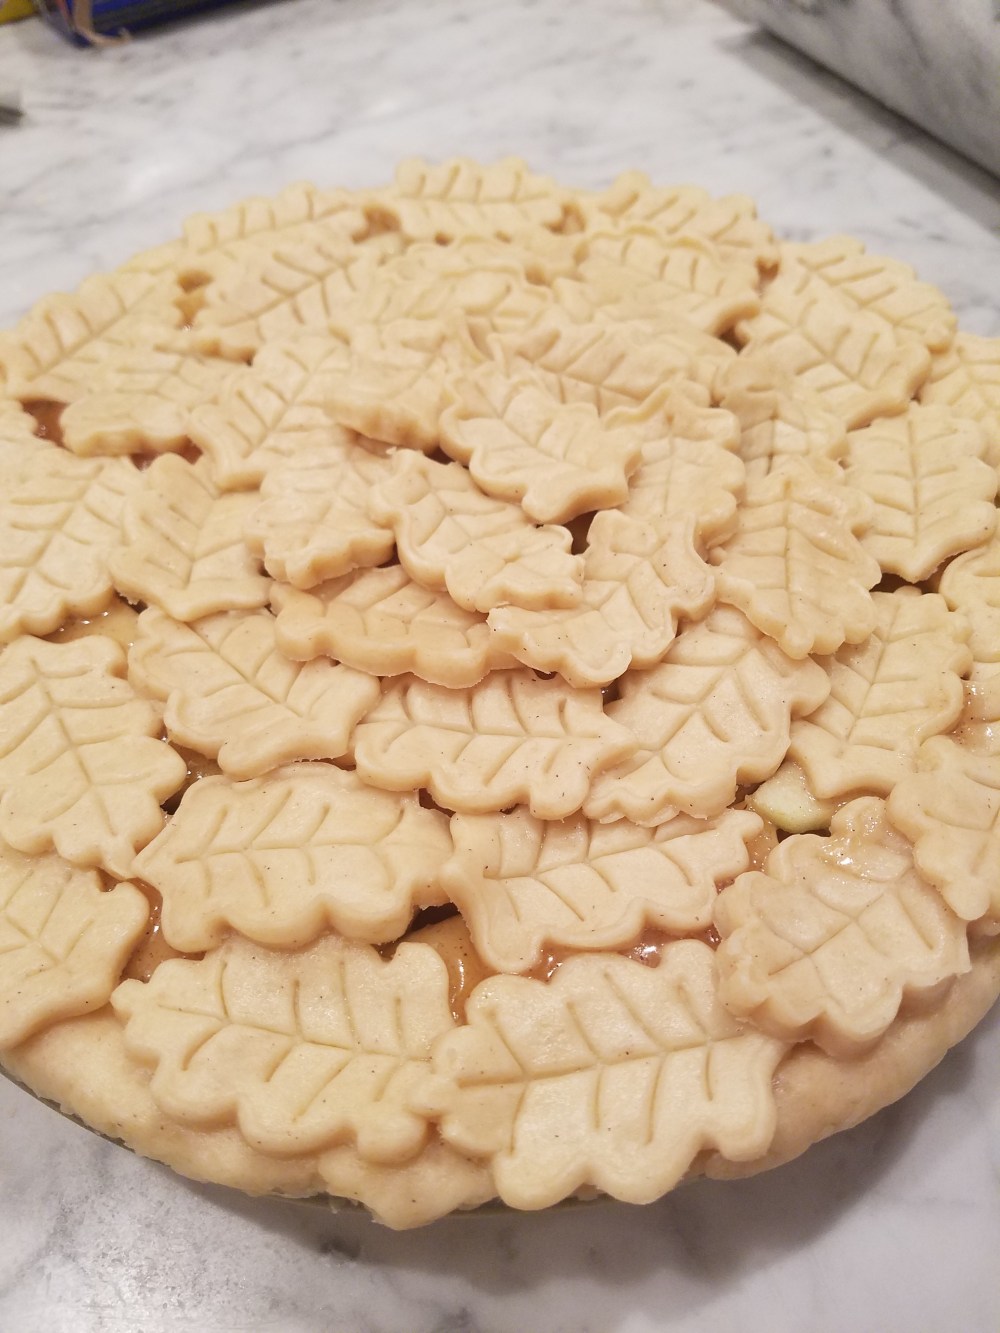
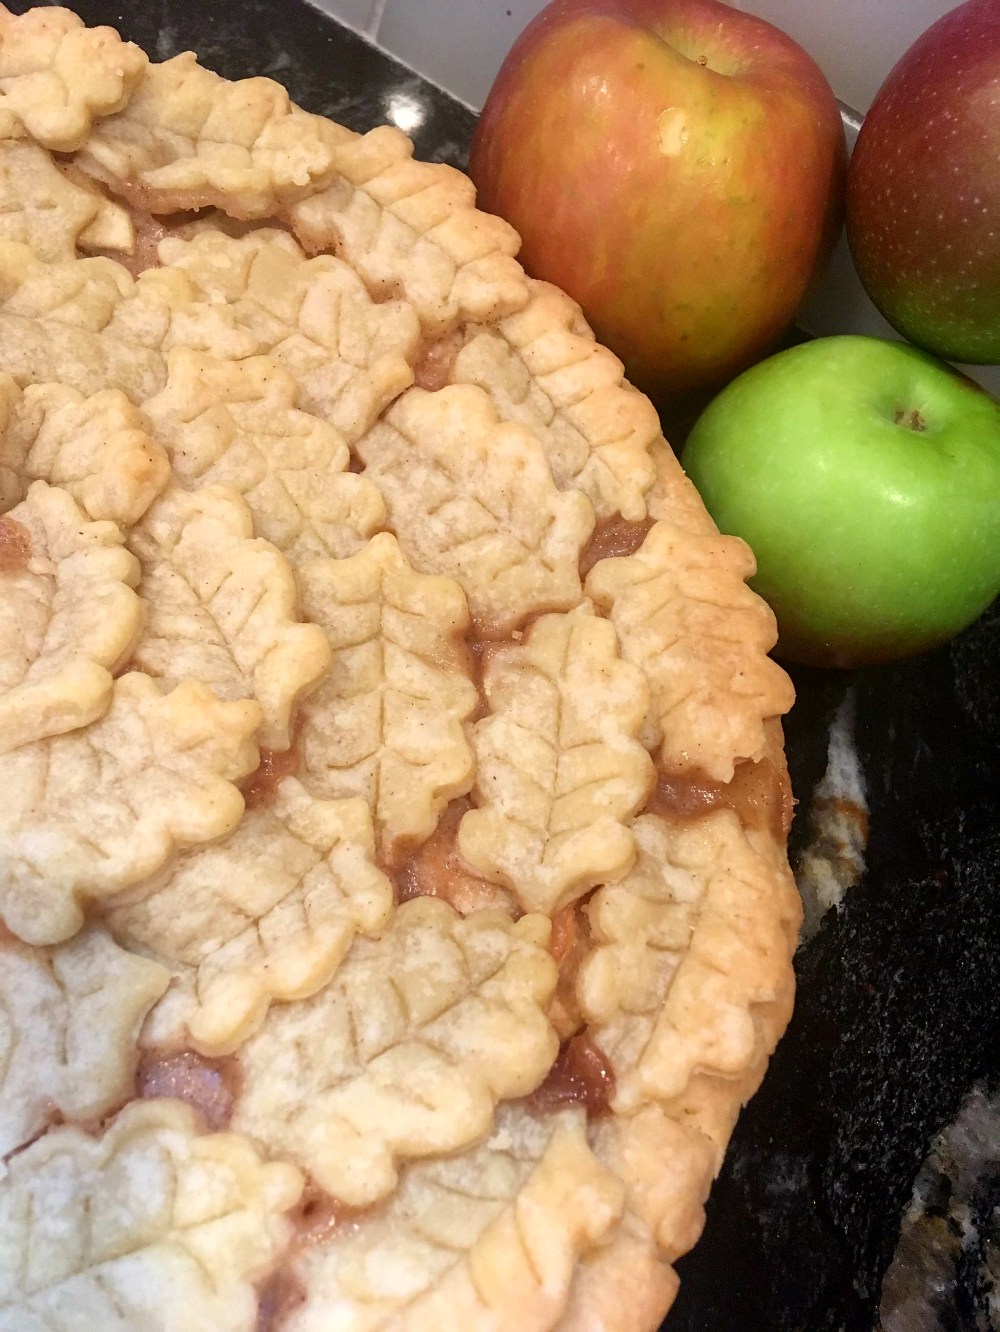
- Decorate for the top crust! If you want to be extra fancy, you can make a lattice design, or, if you’re like me and want to be lazy fancy, use a tool that will help create the design for you. The one I have cuts the dough into a leaf design. If you prefer to leave the crust as is, make sure you slice a cuts to allow the pie to “vent.”


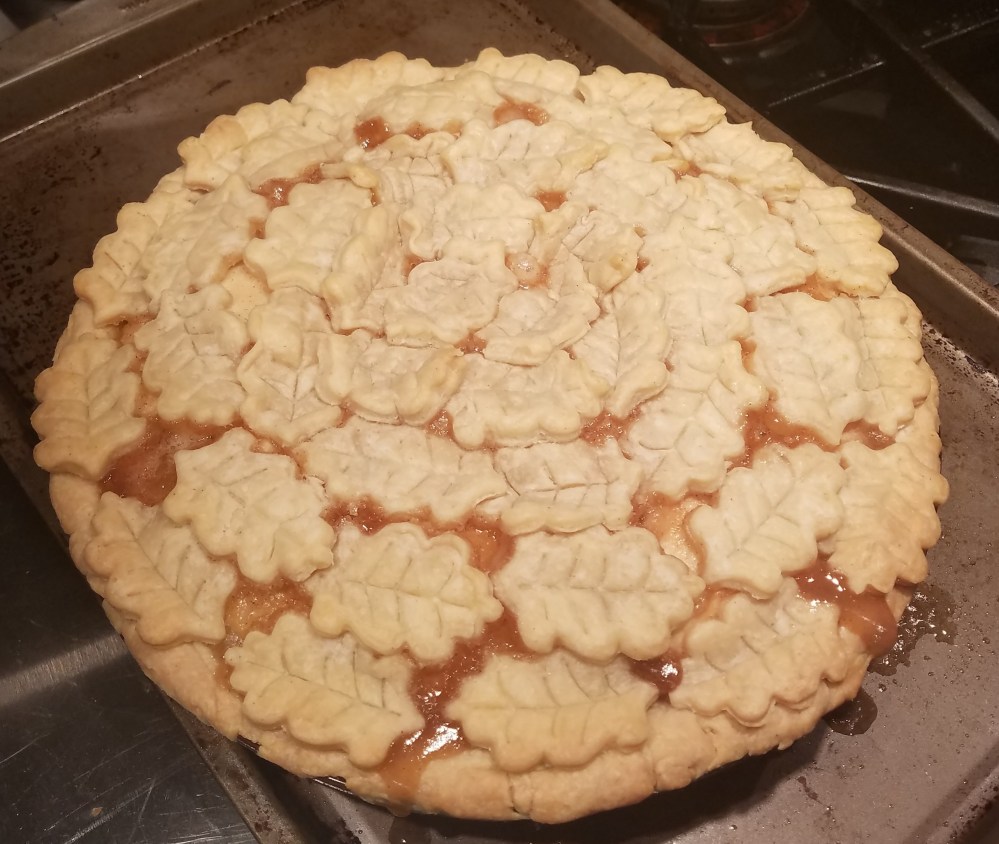
- Whisk the egg and brush over crust. This will give the pie a slight shine.
- Bake for 15 minutes then turn down to 350F and bake for 25-35 minutes.
When cooled, cut and eat!
My favorite part about this pie is that it looks like you really tried–it looks super impressive without being too difficult. Absolutely gorgeous!
What about you: what’s the one food you’re looking forward to this Thanksgiving? Non-dessert wise, it has to be the mac n cheese. Let me know what you think in the comments below!
Until next time,
Danielle

Looks delicious 😋
LikeLike
Thank you!
LikeLiked by 1 person