
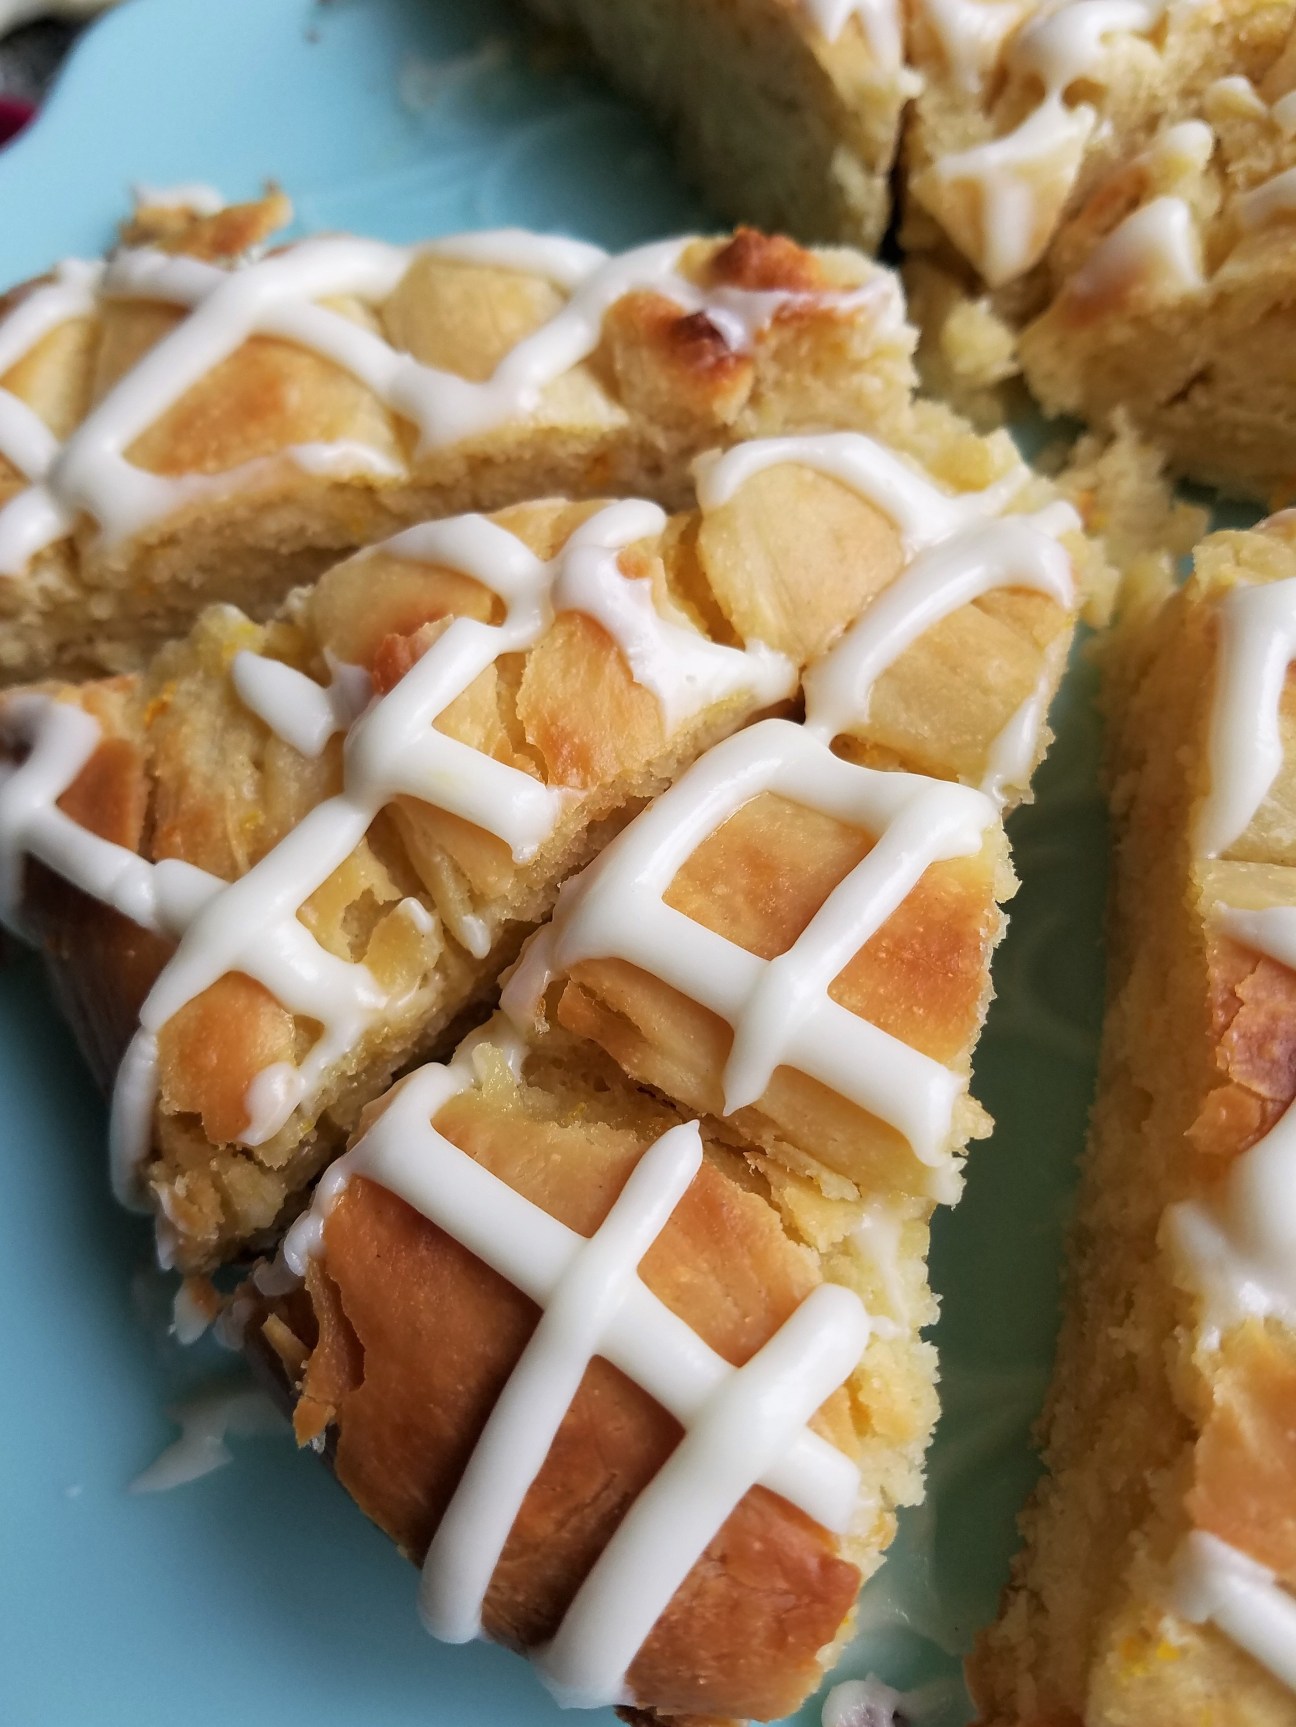
These brown sugar orange triangles have a problem.
I never have enough icing.
Okay, so there’s *technically* enough, but I always have a bad habit of “tasting” the icing. One taste leads to another then another then another then… Well, you get the picture.
Other than that, they’re great! They take a bit of time because the dough has to rise, but man oh man, these are delicious. They’re perfect with a cup of tea or coffee, and I love having one (or two!) for breakfast. If you’re anything like me, you might want to make extra icing–or at least have someone there to keep you honest.
What You Need

Dough
- 3 tablespoons dry yeast
- ⅔ cup hot water
- 1 cup of salted butter
- ½ cup white sugar
- 1 teaspoon salt
- 2 cups hot milk
- 2 eggs
- 6 ¾ cups flour
- 1 tablespoon orange juice
Filling
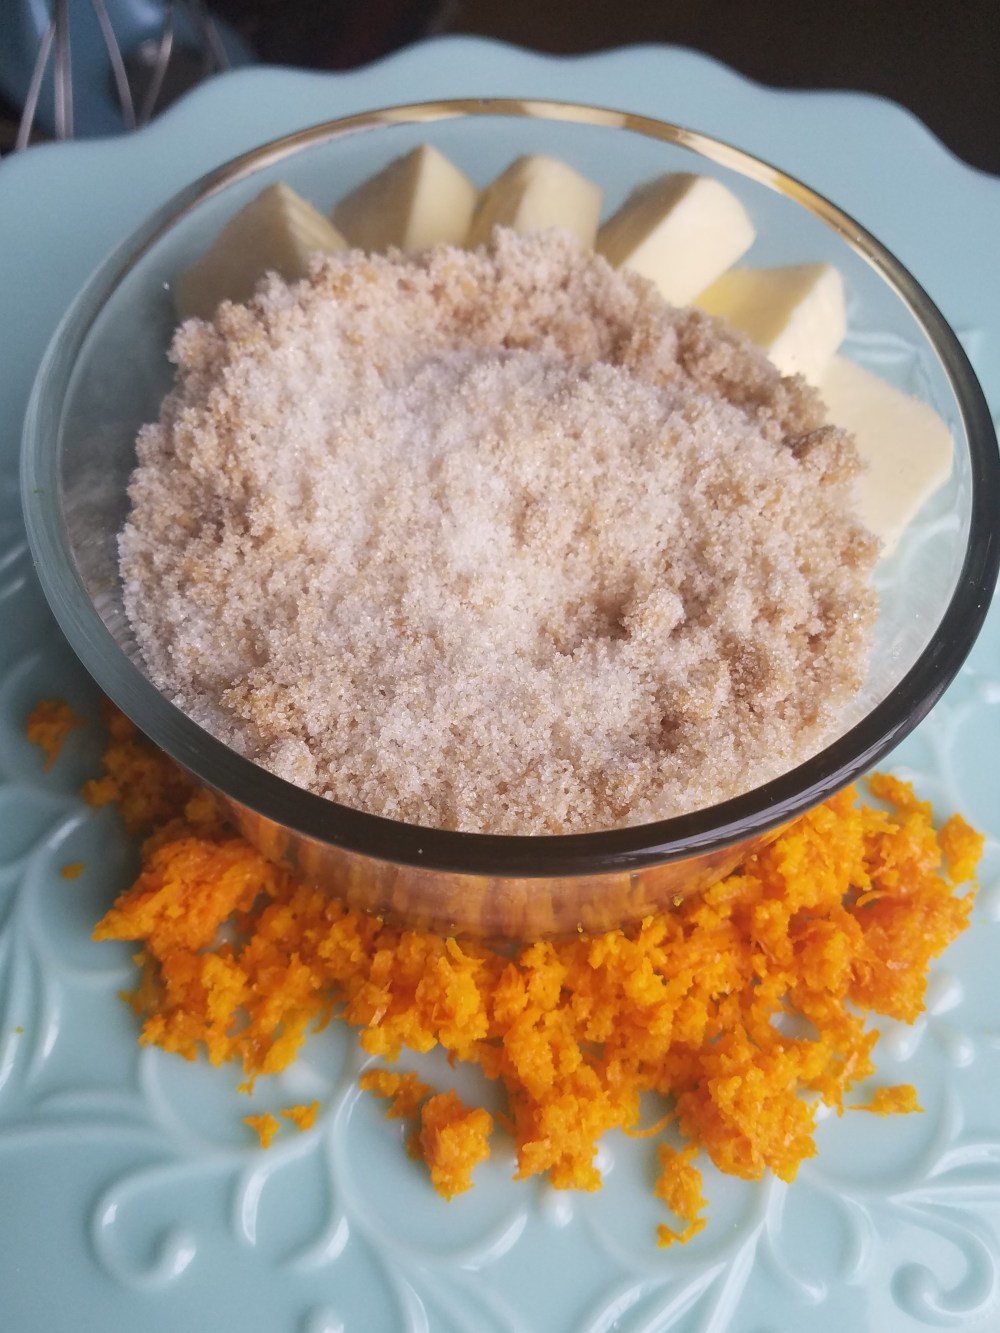
- Orange zest from 1 navel orange (approximately 2 tablespoons)
- ¾ cup white sugar
- ¼ cup brown sugar
- 14 tablespoons salted butter, softened
Icing
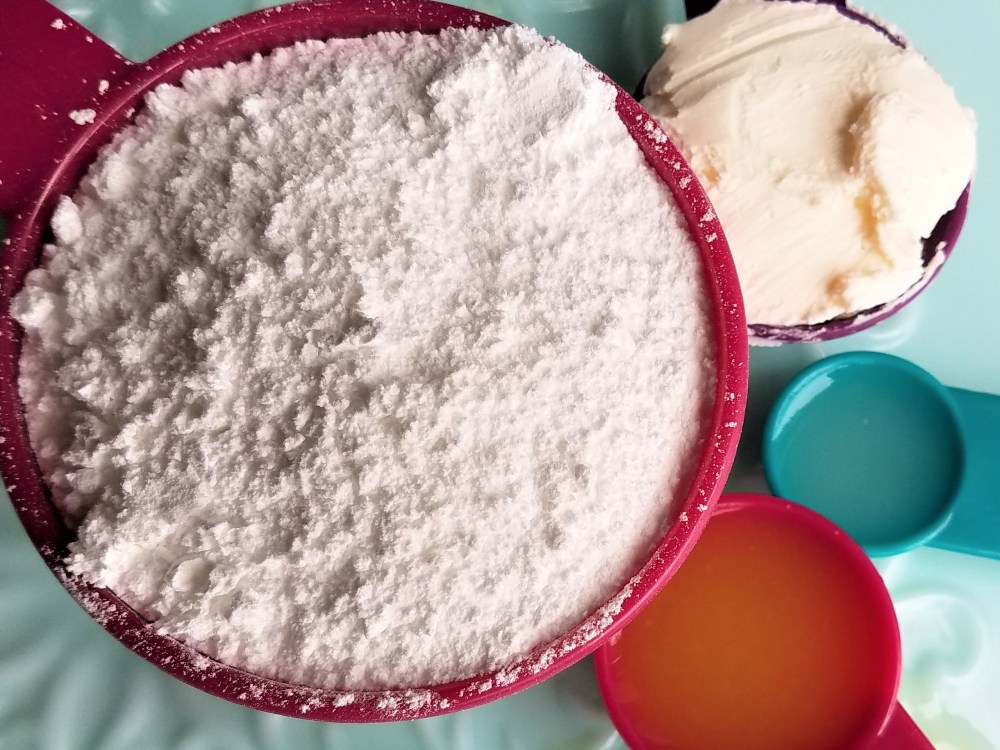
- 1 cup powdered sugar
- 1 tablespoon orange juice
- 1 teaspoon lemon juice
- 2 tablespoon cream cheese, softened
How You Do It
Dough
- In a small bowl, pour the hot water over the yeast and mix slightly. Let set for at least 10 minutes. When it’s ready, the yeast will become creamy, so it’s important not to move the bowl or otherwise disturb the mixture.


- In a separate bowl, combine the butter, sugar, salt, and milk. Mix until the sugar is dissolved, then let rest until room temperature.
- In a stand mixer/ large bowl, combine the eggs and flour. Mix in the yeast and hot water. The mix will still be stiff at this point, so be careful to not overwork it.

- Slowly pour in the wet ingredients.
- When just combined, add the orange juice. Continue to mix until the mixture will just barely hold its shape. Add in more flour as needed.
- On a lightly floured surface, shape dough into a ball. Note: the dough should have a little bit of give. It shouldn’t stay in a perfect sphere. This step is meant to make sure all of the dough is together–not to overwork it.

- Oil a large bowl, place dough inside, turn over, and let set undisturbed until doubled in size (approximately 2 hours). For this step, make sure you put the dough in the warmest part of your house; typically, I’ll put the lid on my stand mixer and fill the hole with hot water.
Filling
- When the dough is just about ready, make the orange zest. Grate the outside of an orange, avoiding grating the pith (the white part). Mix with the brown and white sugars.


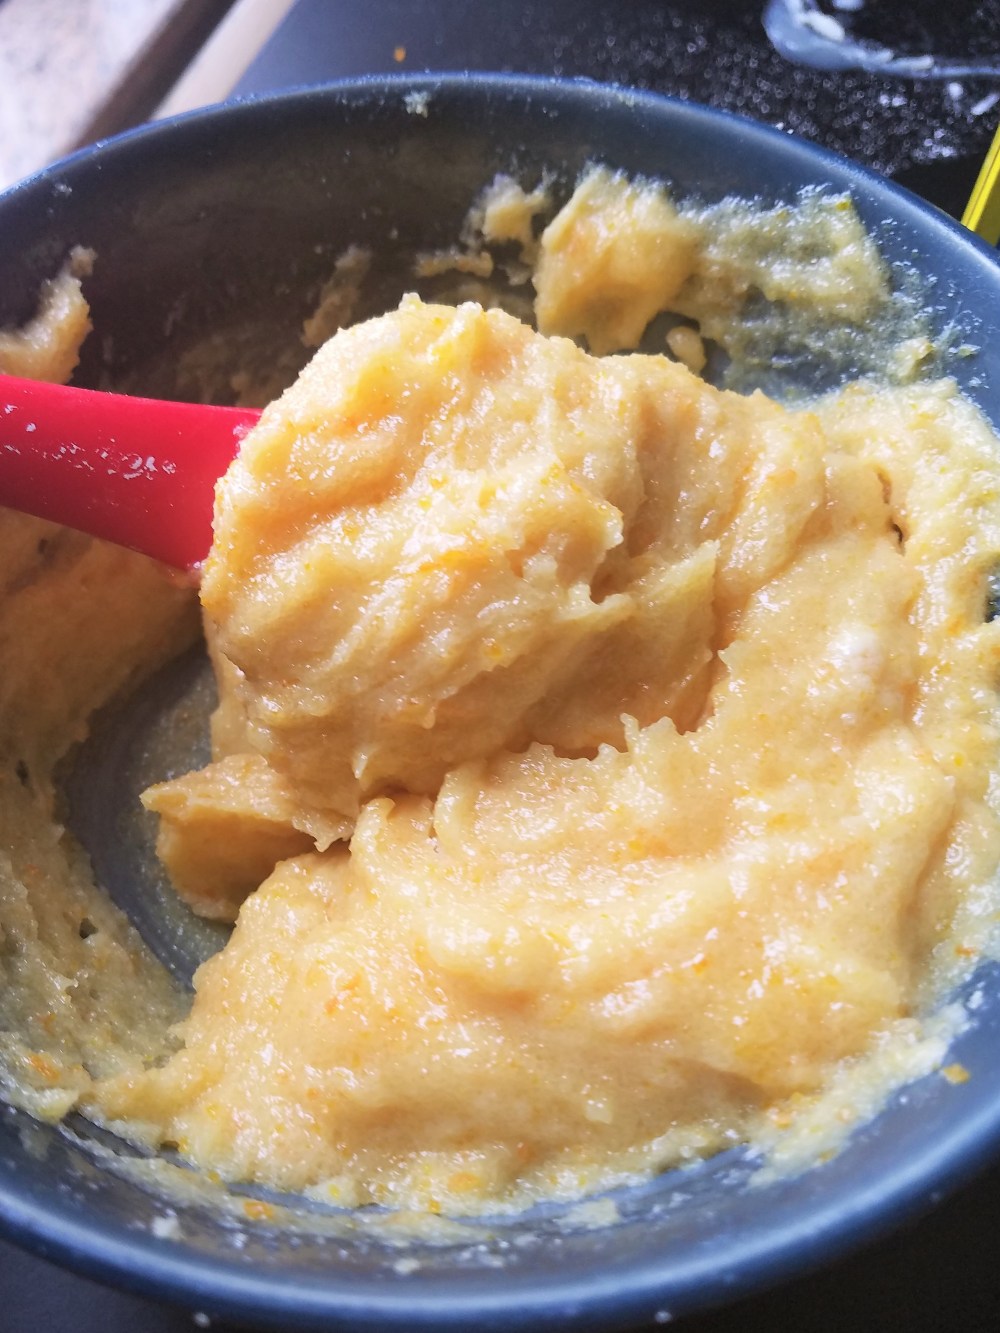
- Add in the softened butter. If needed, use your hands.
- Stick into the microwave for 20 seconds. This will slightly melt the butter, making it more spreadable.
- Roll out the dough. On a floured surface, roll out the dough until it makes a rectangle, approximately


- Spread out the filling on the dough.

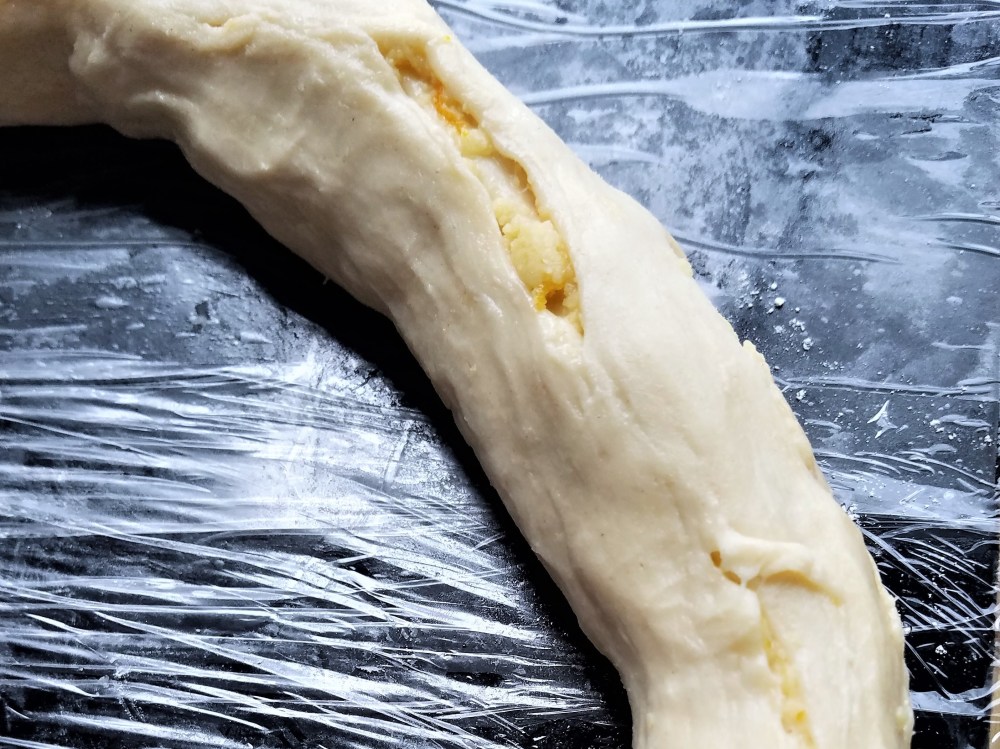
- Roll up the dough along the long side.
- When you’re done, cut the dough in half to have two equal portions. Continue to roll out each portion until you have two ropes, each approximately an inch in width. Don’t mind any cracks that appear; I had a few (see below).
- Butter two pie tins. Put the dough inside, and let set for at least 30 minutes.

- At 400°, bake for 25 minutes. When it’s done, it should be a golden brown, but if the top starts to burn before the time’s up, cover with foil. Don’t automatically assume that it’s ready because the top is brown; if you use a glass dish to cook the dough, check the underside–it should be slightly brown, as well.

Glaze
- While the dough is baking, mix the powdered sugar, orange juice, and lemon juice. Add in the cream cheese, adding more if you’d prefer a creamier texture.
- Let the dough cool for 15-0 minutes, putting in the freezer if you’re pressed for time.
- Remove the soon-to-be triangles from the pie tins and put on the icing. Don’t feel like you have to be fancy here; I used a sandwich baggie and just made a criss-cross pattern.

- When you’re done decorating, slice into 12 equal triangles and enjoy!
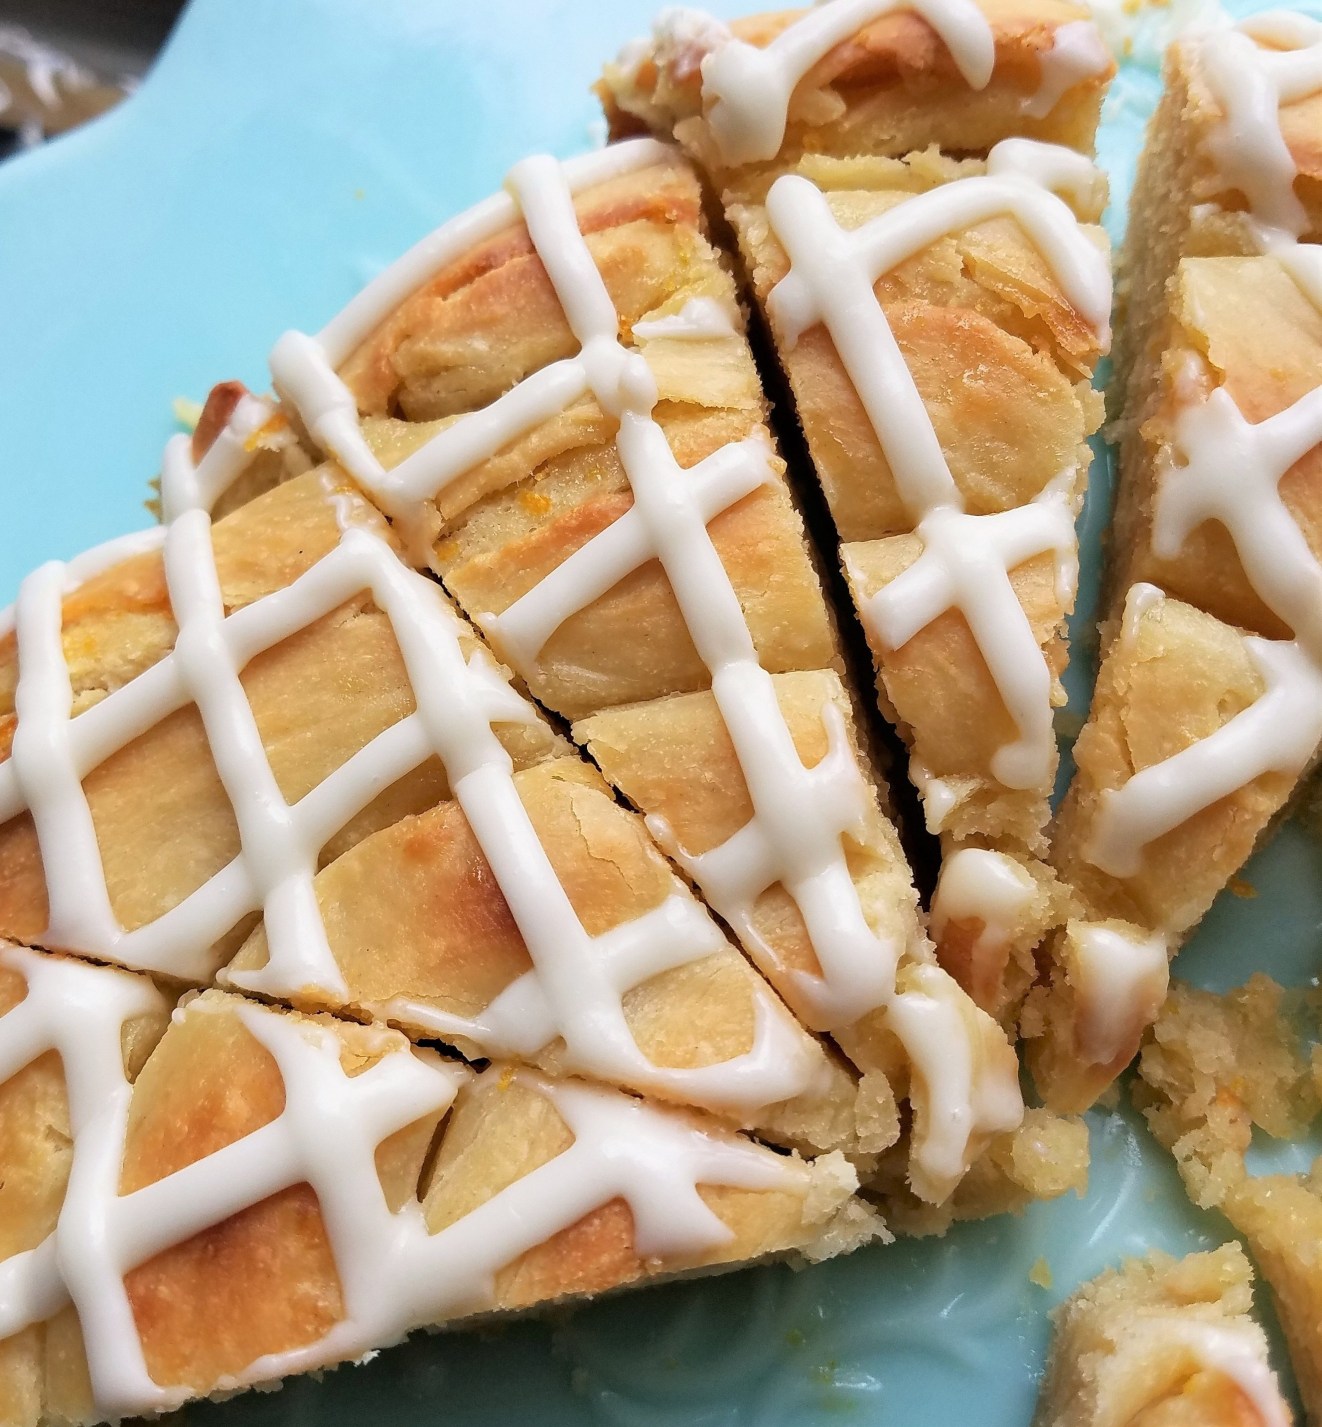
Again, I’m obsessed with the icing. But how could I not be?
If you give these a go, let me know how it goes! Until next time,
♥Danielle
Mix it up: These work great as pull apart bread! Simply cut the dough into small pieces after you’ve rolled it, and follow the same directions.

This sounds so good! I usually manage to mess up recipes that require yeast but this might inspire me to give it a try.
LikeLike
I’ve found the key is to make sure it’s still fresh and to give it enough time to rest. Gotta be patient!
LikeLike