Classic Yellow Birthday Cake
With my birthday coming up in a few short days, I wanted to make a classic: a yellow birthday cake. Both easy and delicious, there’s no wrong way to decorate a classic yellow birthday cake. It’s an “all about the taste” cake, so don’t feel like you have to do something extravagant. Keep it in the pan and just frost the top, have several layers with frosting in the middle… The choice is up to you. With something so delicious, it doesn’t matter how it looks.
What You Need
Cake
- 1 ½ cups sugar
- 8 tablespoons (½ cup) salted butter, softened
- 3 eggs
- 1 teaspoon vanilla
- 2 cups flour
- 2 teaspoons baking powder
- ½ teaspoon salt
- 1 cup milk
Frosting
- 3 ⅔ cup powdered sugar
- 8 tablespoons (½ cup) salted butter, softened
- ⅓ cup milk, plus more as needed
- 1 teaspoon vanilla
How You Do it
Cake
- Preheat oven to 350 degrees F and prepare pan. If you’re going to serve in the pan, simply butter and flour. If serving right out of the pan, line with parchment paper. I used a 9’x13’ with the intention of cutting it in half, so if you’re not going to do that, you can use a smaller pan.
- Cream together the sugar and butter.
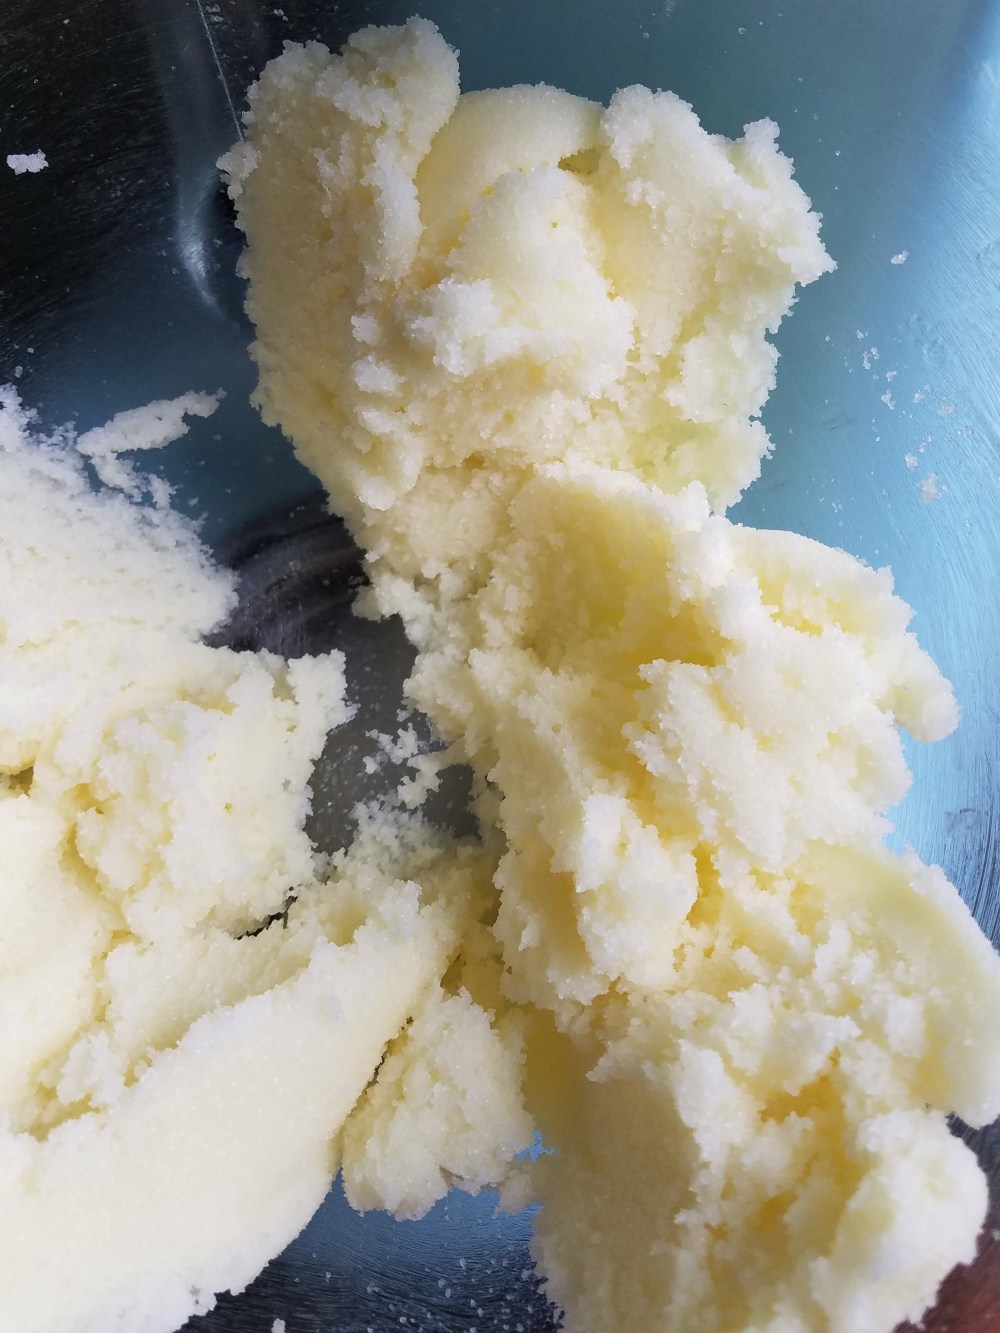
- Adding one at a time, mix in eggs and vanilla. The consistency will be similar to that of uncooked pudding.

- In a separate dish, combine the flour, baking powder, and salt. Alternating with the milk, pour the dry ingredients into the wet ingredients until all are combined.

- Pour into prepared pan and bake 35-40 minutes, or until a toothpick comes out clean. Let set as room temperature for at least 20 minutes, then place in freezer until ready to decorate (it’s a lot easier to work with cold!).
Frosting
- Combine powdered sugar, butter, and vanilla. Mixture will not completely combine at this point; there will still be clumps.

- Add milk. Mixture will be slightly thinner than typical frosting.
- Add cocoa powder. This will thicken the mixture, but if you plan to frost your cake instead of piping, add some more milk until desired consistency is reached.

Putting it Together
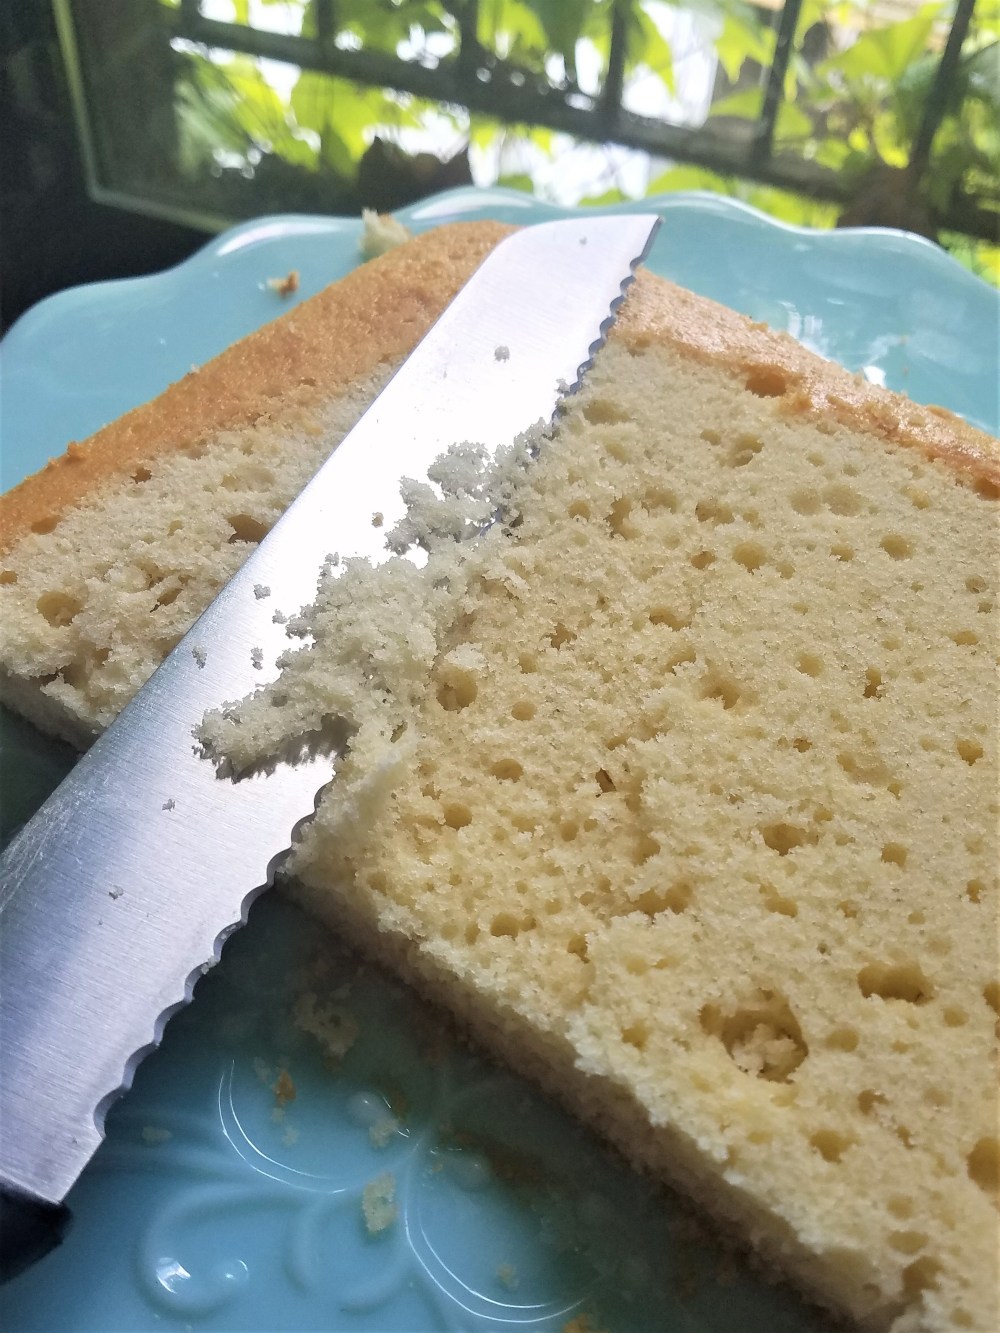
- Take cake out of the fridge. If making a layered cake, cut in half and begin to carve cake into desired shaped. If your layers are uneven, use a bread knife and shave off the tops.

- Stack the layers on top of one another, frosting in between, and create a crumb coat. If you’re planning on piping, this might be as far as you go–and that’s okay! If you’re interested in piping and adding sprinkles, continue below.

- Staring at the bottom, begin to pipe the cake. I used an open star tip, but which one you use is up to you.
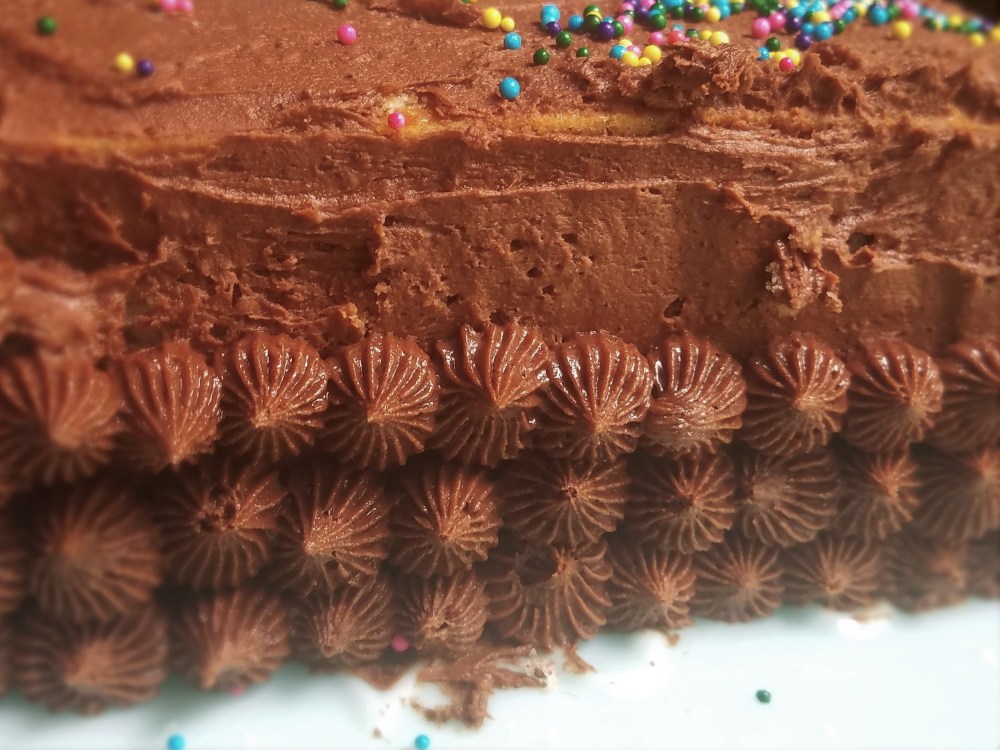
- Pipe all the way around the cake. Depending on how you want to decorate the top, either pipe until the cake is completely covered, or leave the top open for sprinkles. If putting on sprinkles, do so carefully and slowly–they have the tendency to bounce around and make a mess! Putting the sprinkles on the dead center of the cake and then pushing them to the desired spot works the best. Pat them down if needed.

- When you’ve finished decorating, that’s it! Cut, serve, and enjoy!
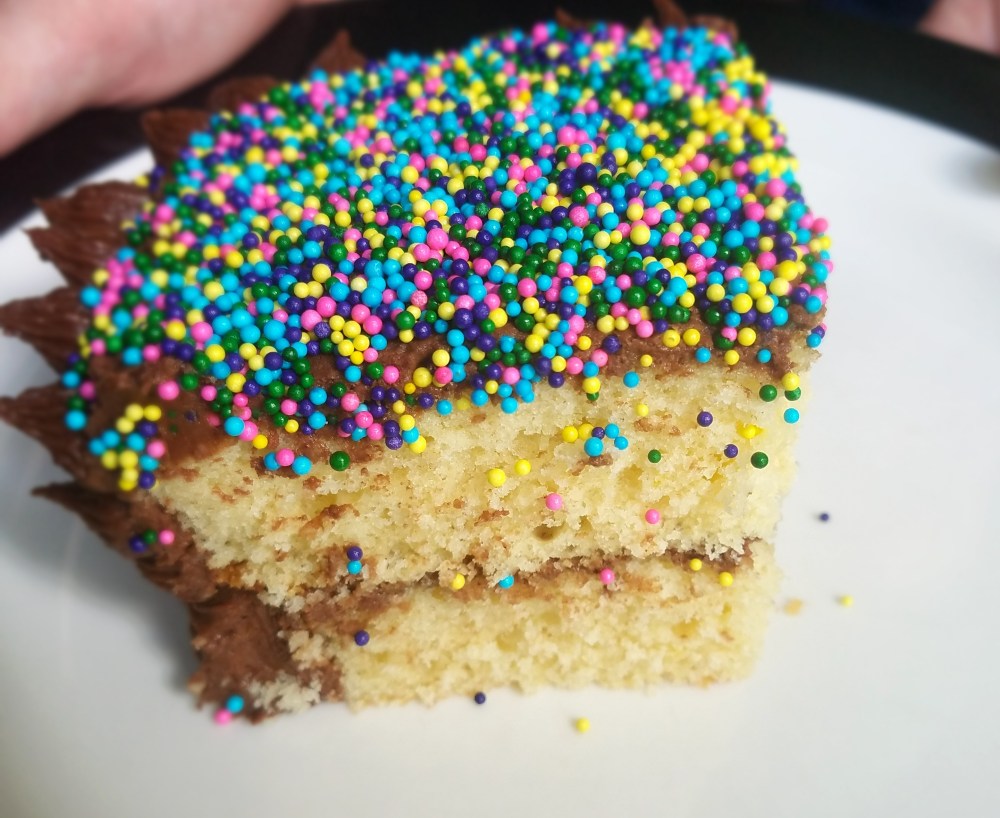
The sprinkles make it so fun, worthy of any celebration.
I love layered cake, don’t you?
I’m so excited for my birthday this year, and though I made this cake a few days before hand, I’m trying my best to save a slice or two for the big day. Until next time,
♥Danielle
Mix it up: The sprinkles I used are nonpareils, but if you don’t like the “crunch” they produce, you have so many other options. You can even use sanding sugar. Experiment!

One Comment Add yours